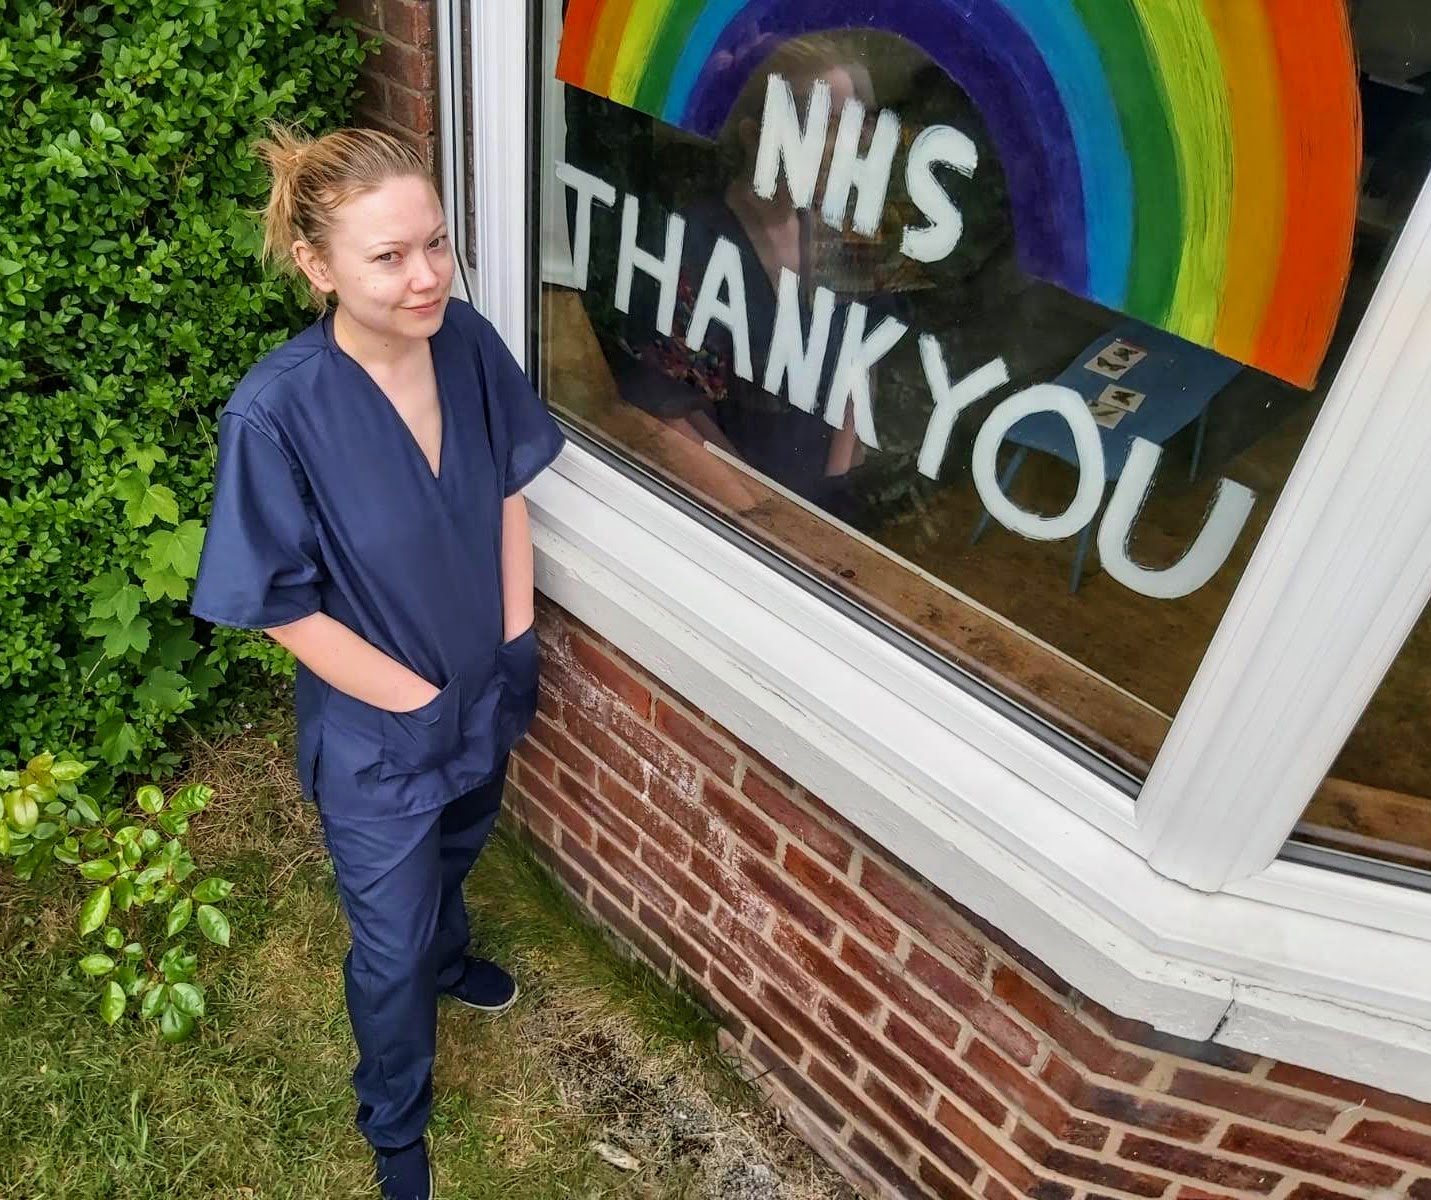
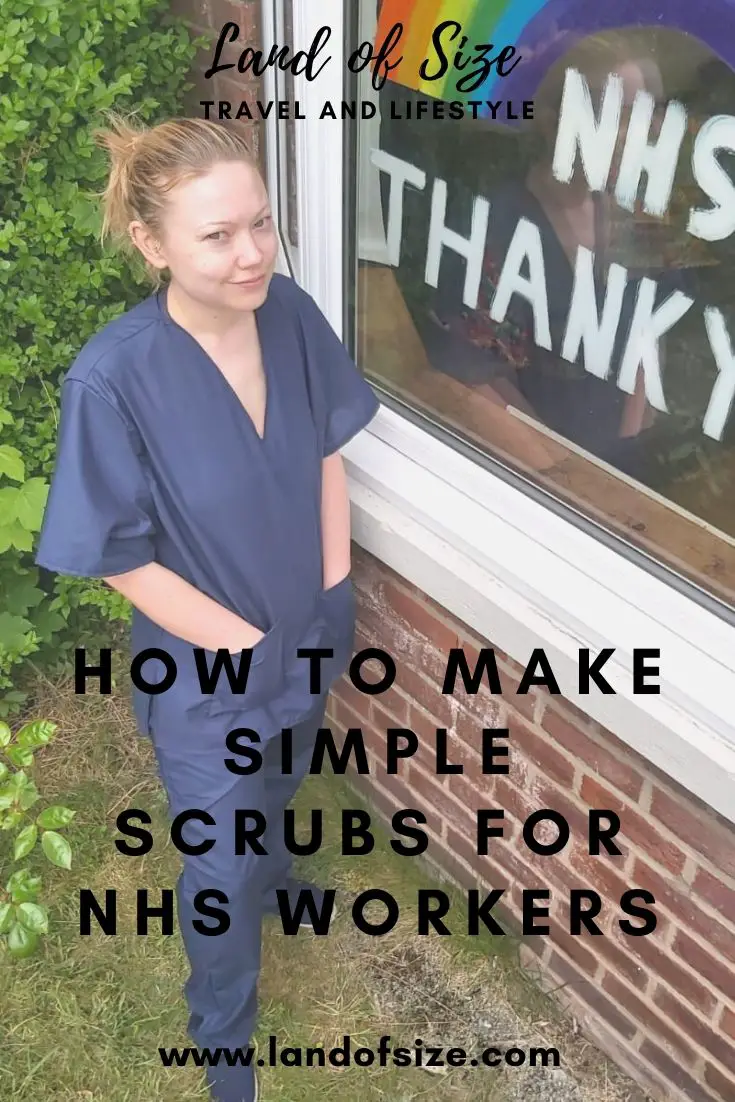
We are living in unprecedented times and it’s understandable that we all want to contribute something by making scrubs for our busy healthcare workers during the coronavirus lockdown.
If you’re a sewer, then there are various things you can make to help, including scrub hats, headbands, scrubs and scrub bags.
For anyone who has basic dressmaking experience, then making scrubs uniforms for your local healthcare workers is a great way to support them.
I’m an experienced sewer and I went through the whole process early on in lockdown so I’ve written this post to give you a step-by-step guide to scrubs making!
This post may contain affiliate links
*This is the method that I have devised based on multiple attempts to recreate the pattern. I have tried to make it as simple and as effective as possible – feel free to share this with others.*
YOU WILL NEED:
As well as a sewing machine and an iron plus basic sewing skills, these are the things that you will need:
- A scrubs pattern (print off yourself or send to a printers)
- Cotton or polycotton fabric
- Matching thread
- Elastic, drawstring or elastic drawstring
- Pins and/or weights
- Scissors and/or thread snips
- Labels (buy or make your own)
Optional:
- Matching binding
- Fusible interfacing
- Safety pins
- Overlocker
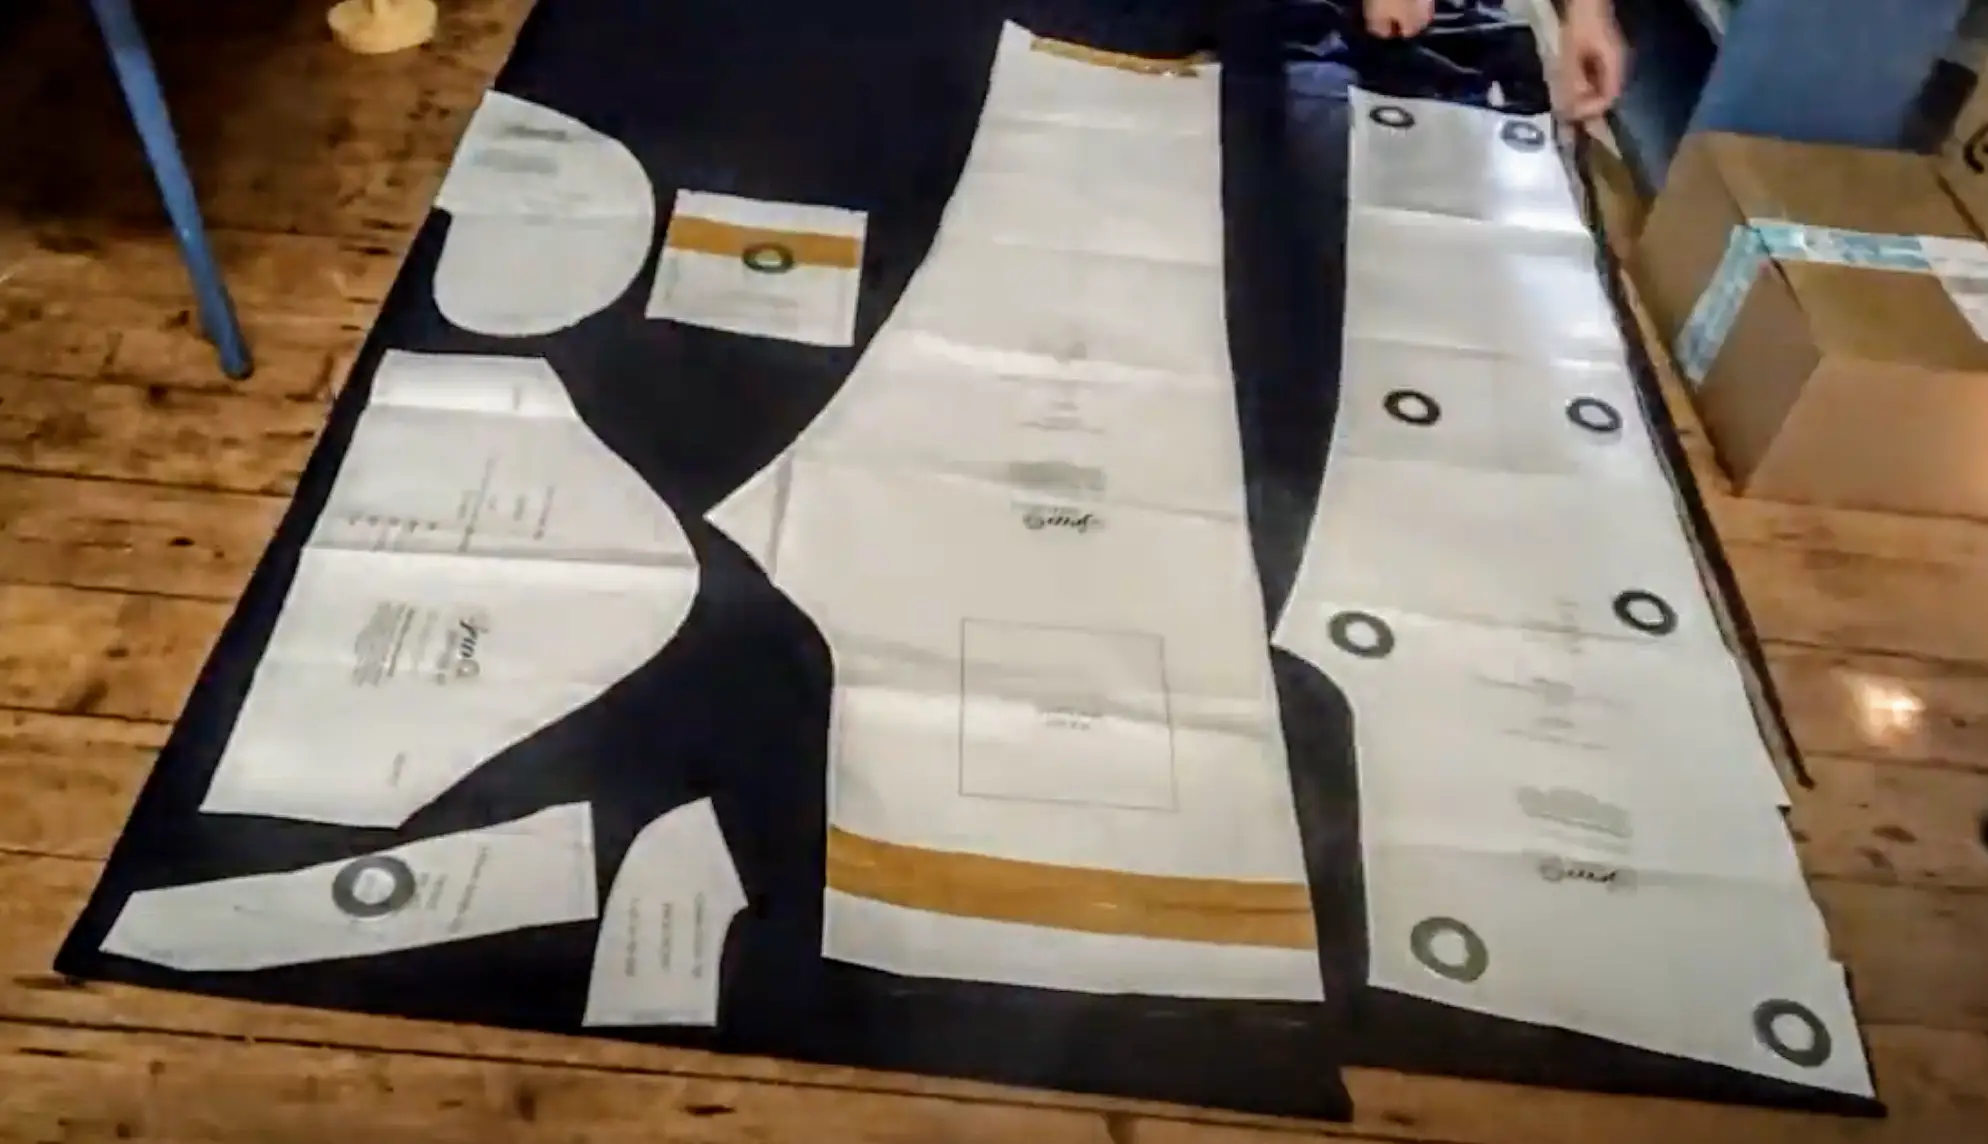
PATTERN CUTTING:
List of main pattern pieces:
- 2 x front trouser leg
- 2 x back trouser leg
- 4 x square pockets
- 1 x front top
- 1 x back top
- 2 x sleeves (unless they’re drafted into your pattern)
Optional:
- 1 x front facing
- 1 x back facing
- 4 x side pockets
Lay out the pattern like this, and fold it the width of the front and then back pieces to cut them on the fold.
Video Tutorial:
Watch my easy scrubs tutorial to guide you through all the steps to perfect scrubs:
Scrubs Instructions:
Prep for scrubs top and bottoms:
1. Attach your front facing to your fusible interfacing by ironing it on then zigzag stitch around the outside to hold it in place. Skip this step if you’re using binding around the whole neck.
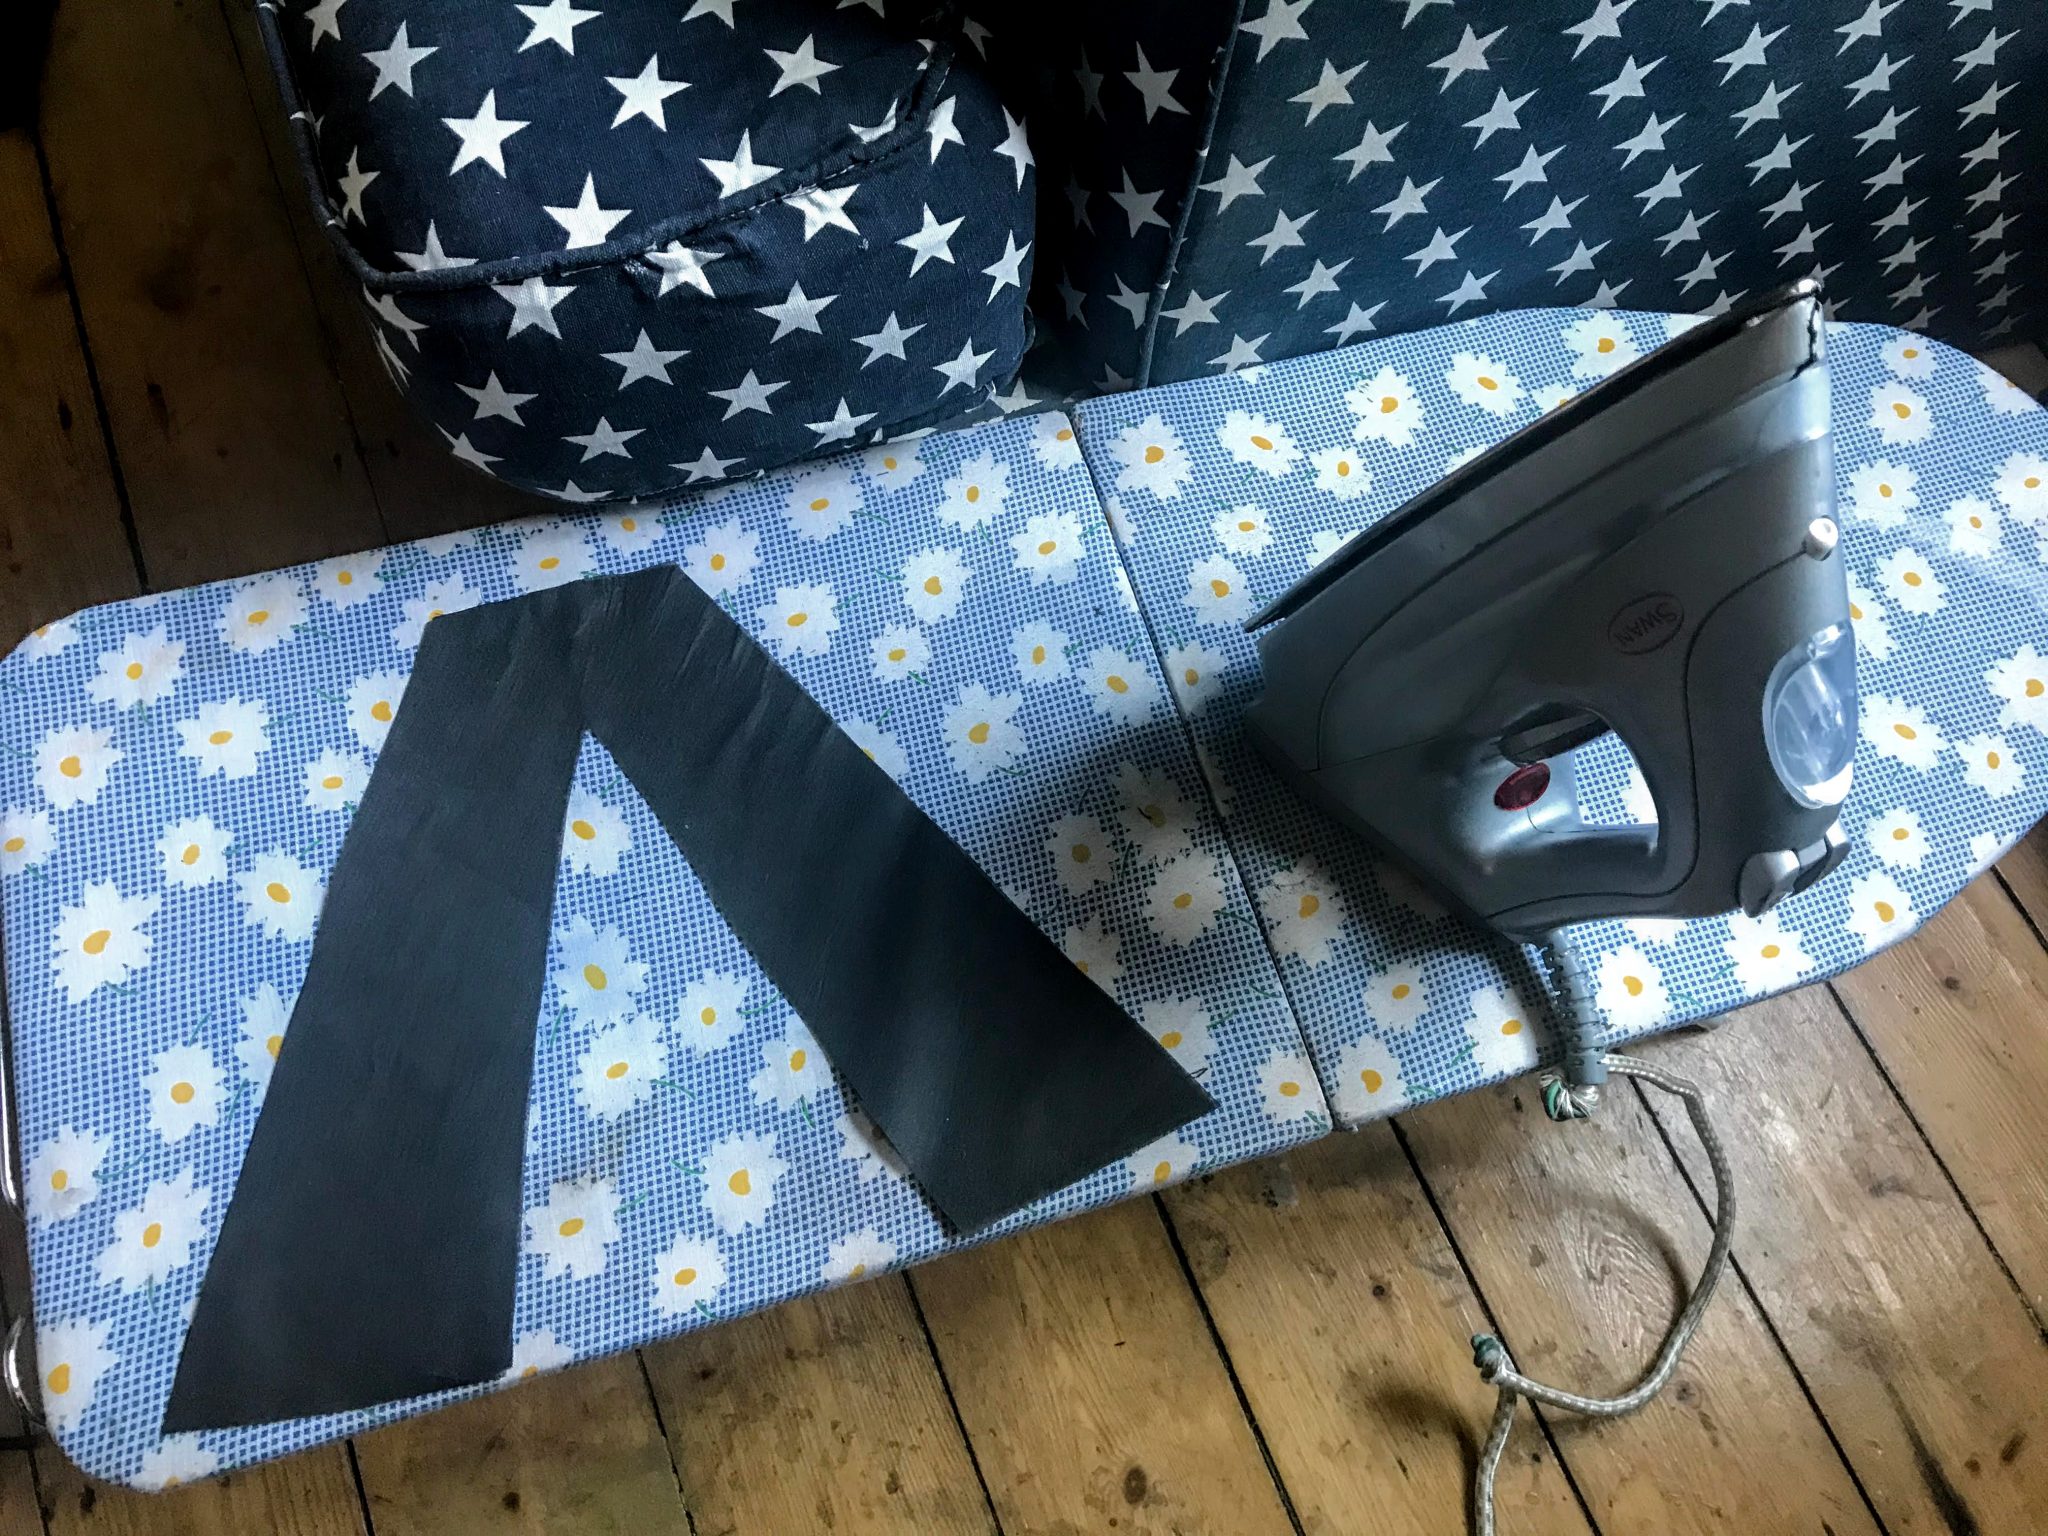
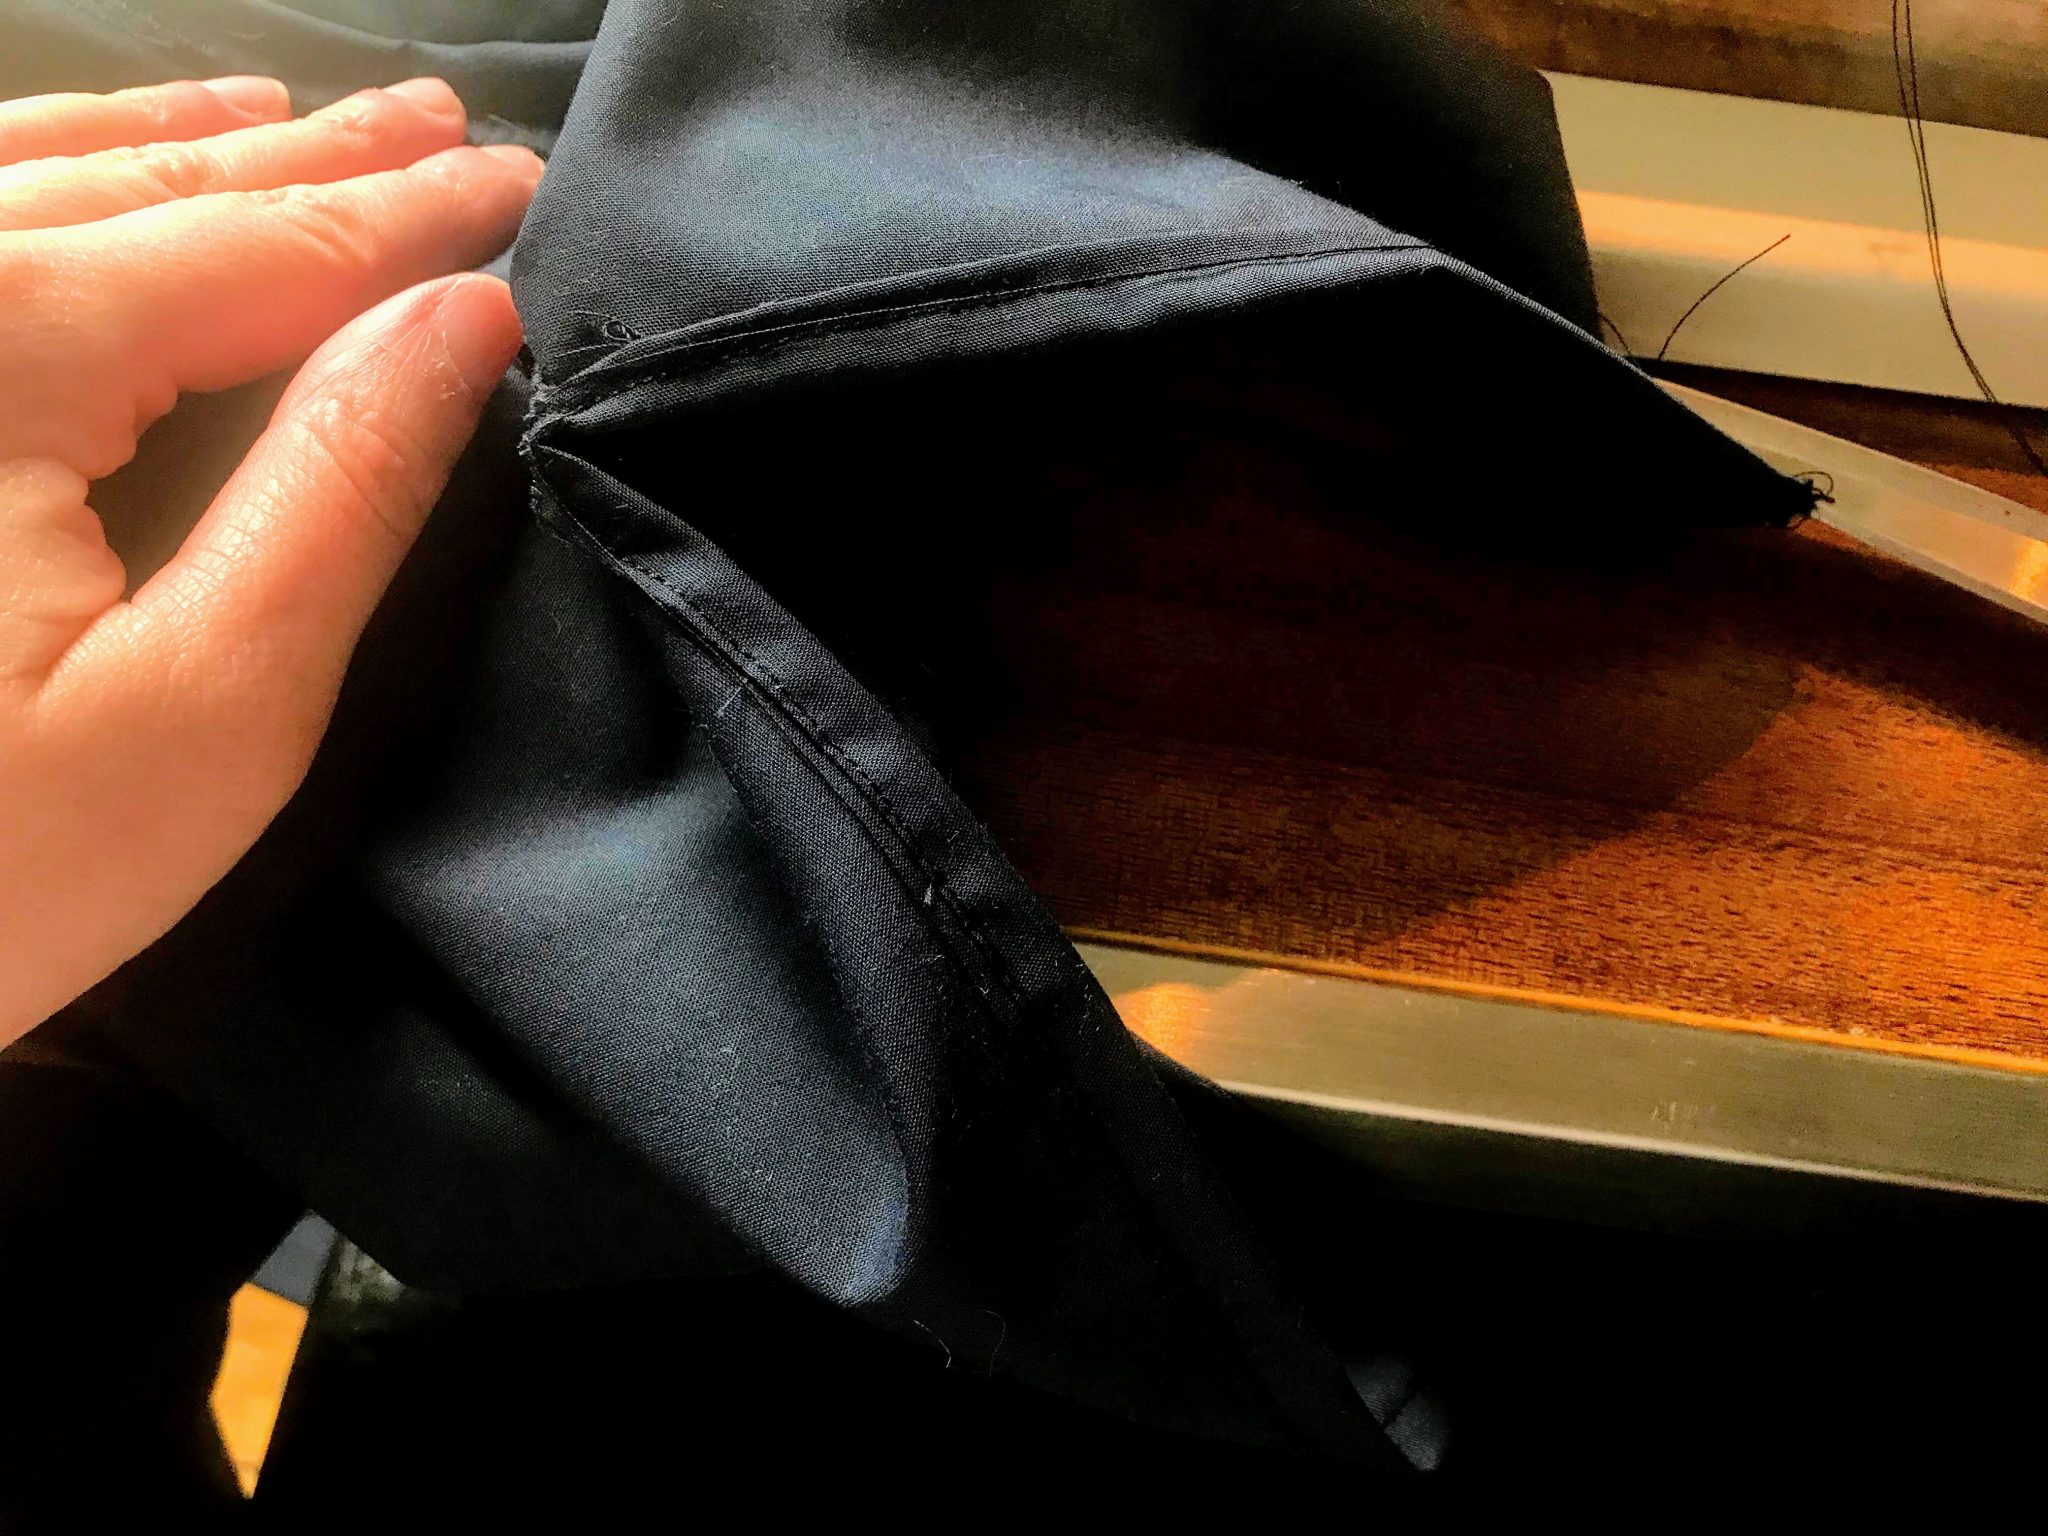
2. Iron your pockets to create a hem. Create a hem at the top, then iron half a centimetre around the edge and fold over the corners to make triangles and press.
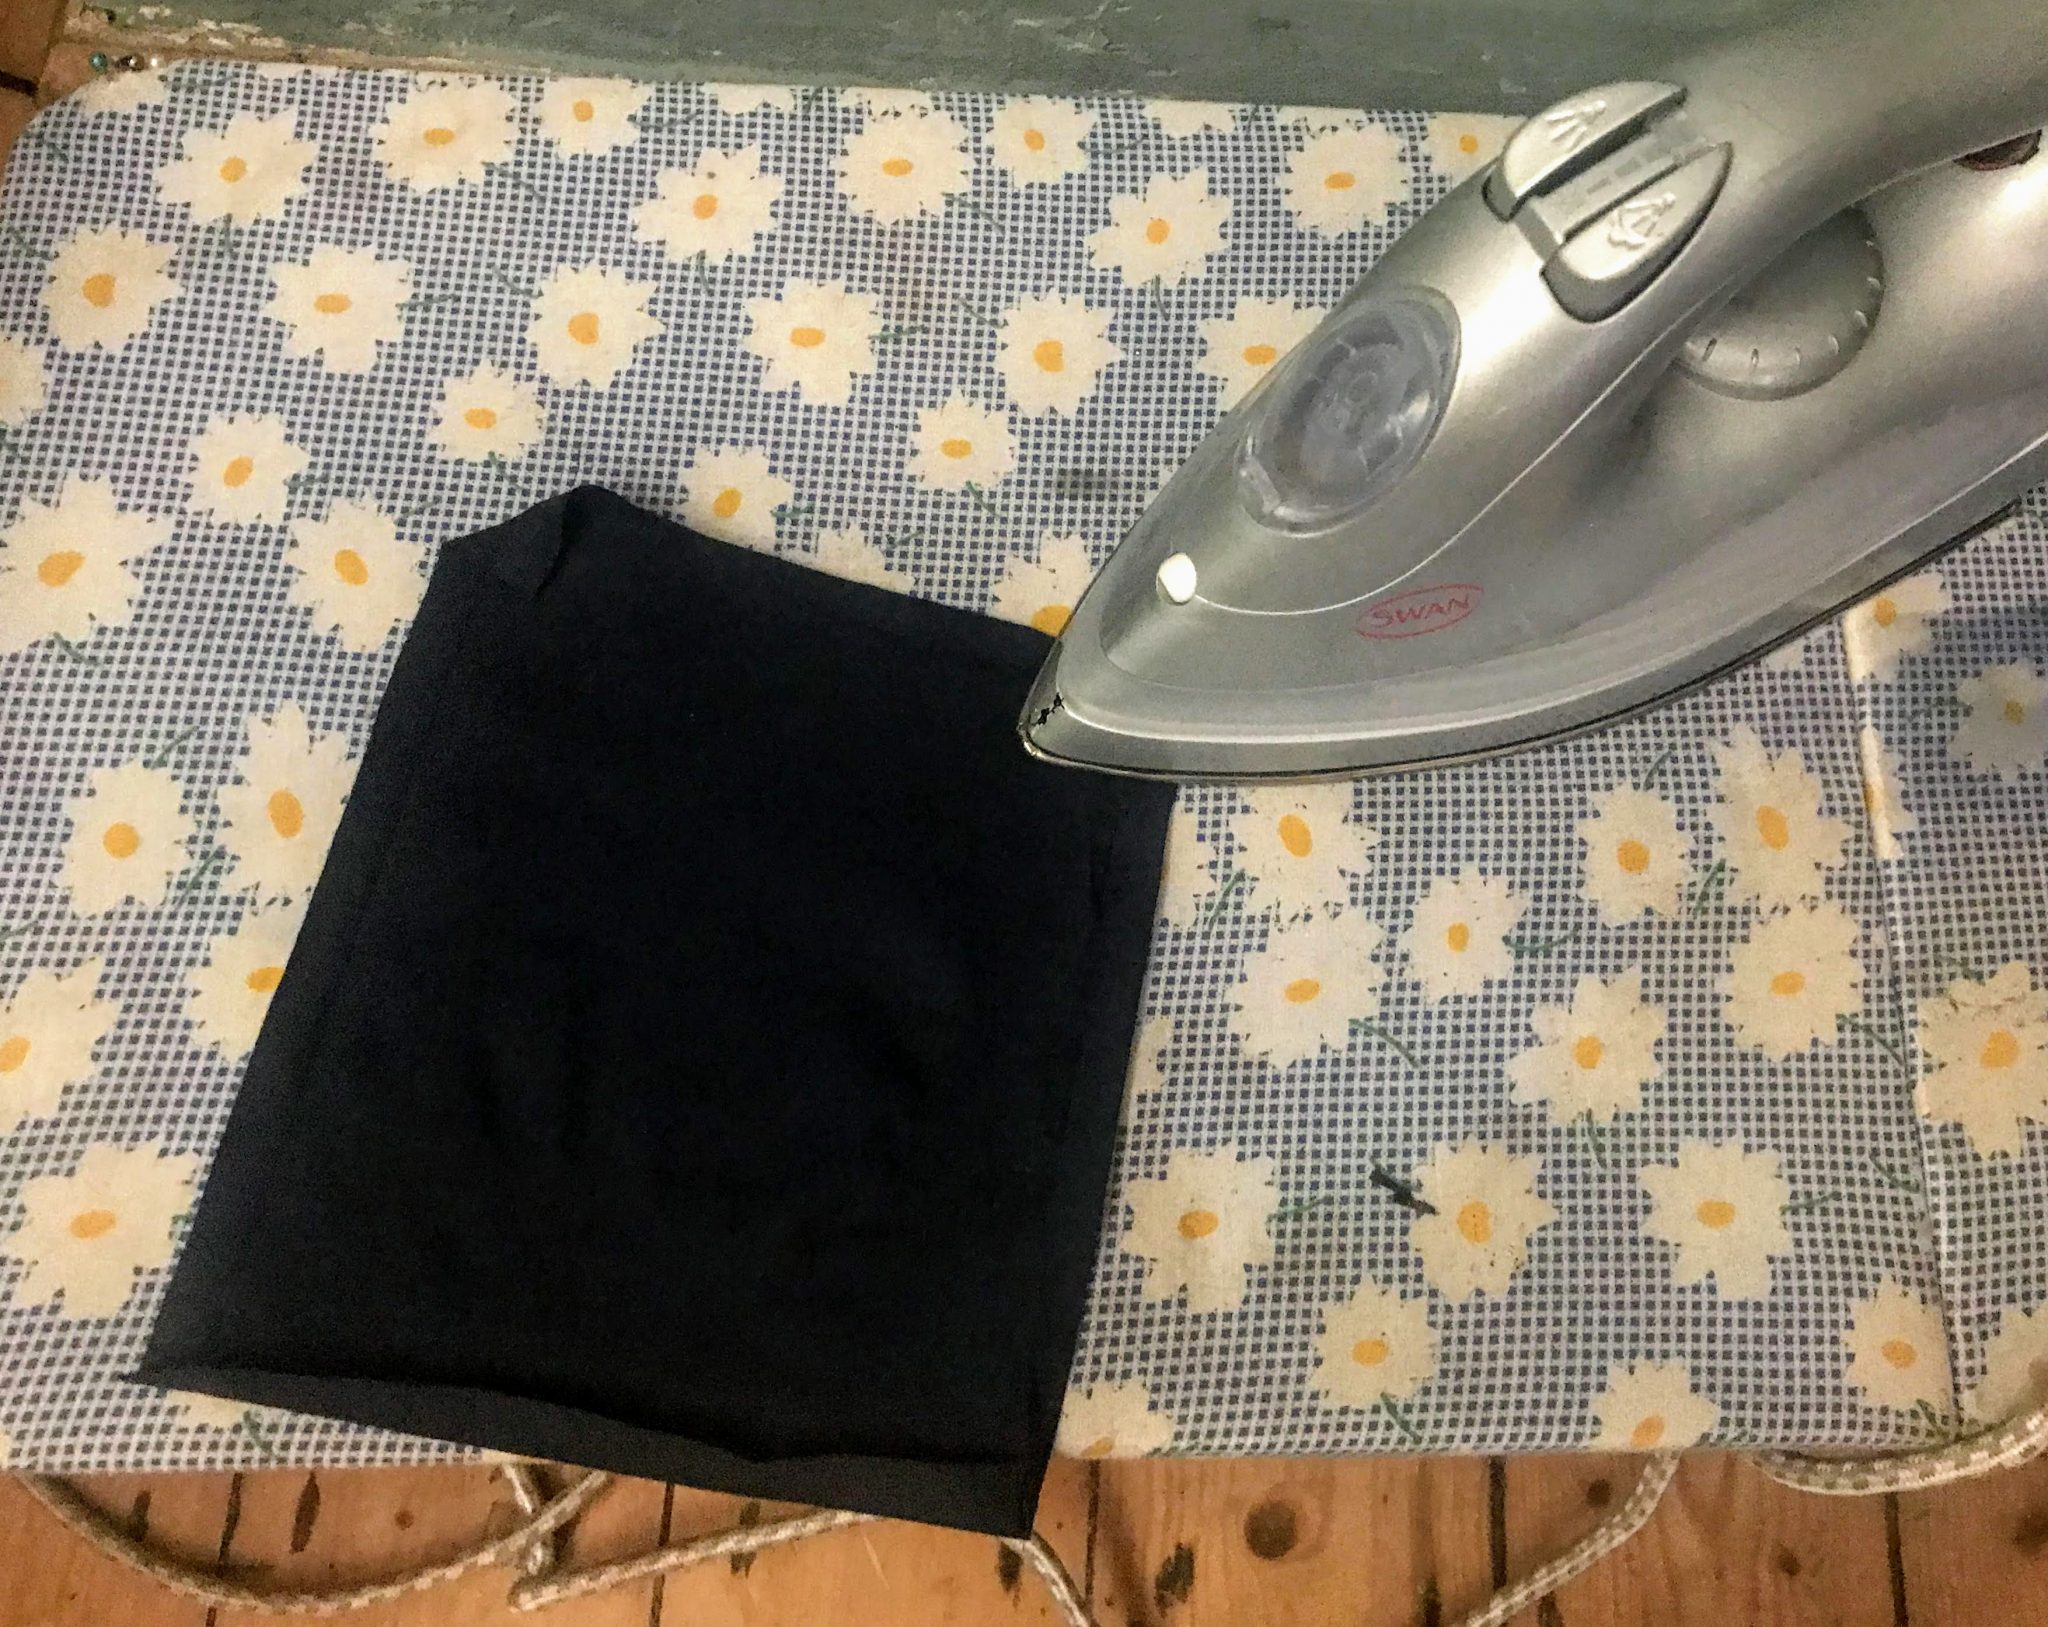
Fold over the hem of the pocket so that it meets at an angle like this. You can use a piece of card to measure if you wish.
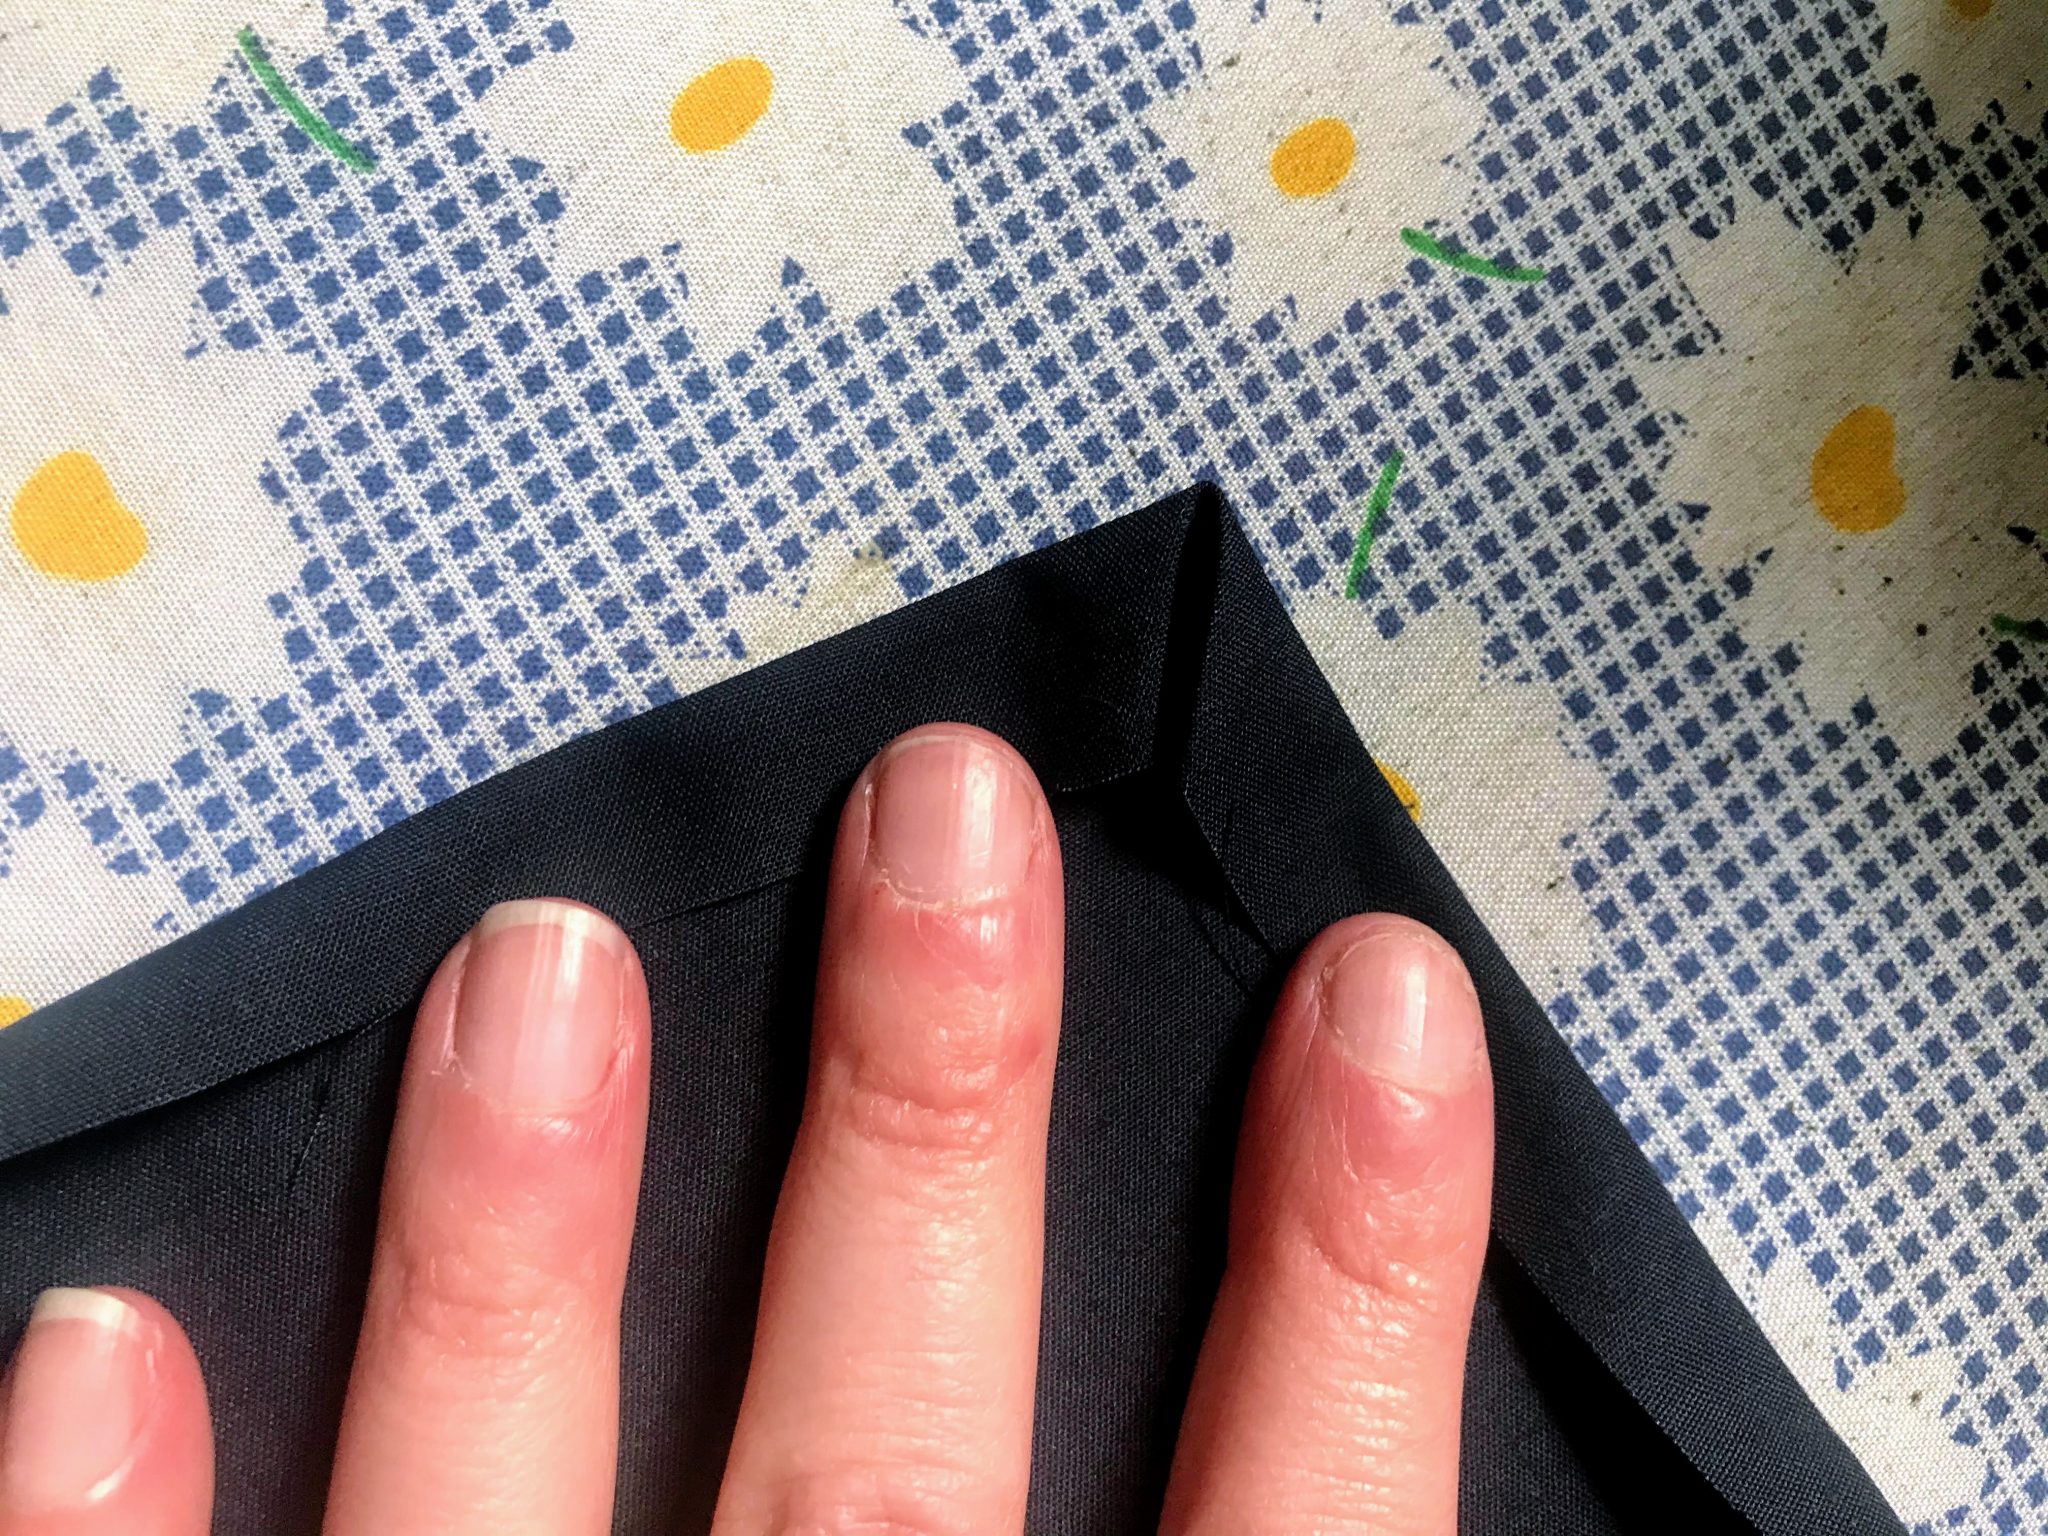
Stitch the hem across at the top before you place them onto your top or bottoms.
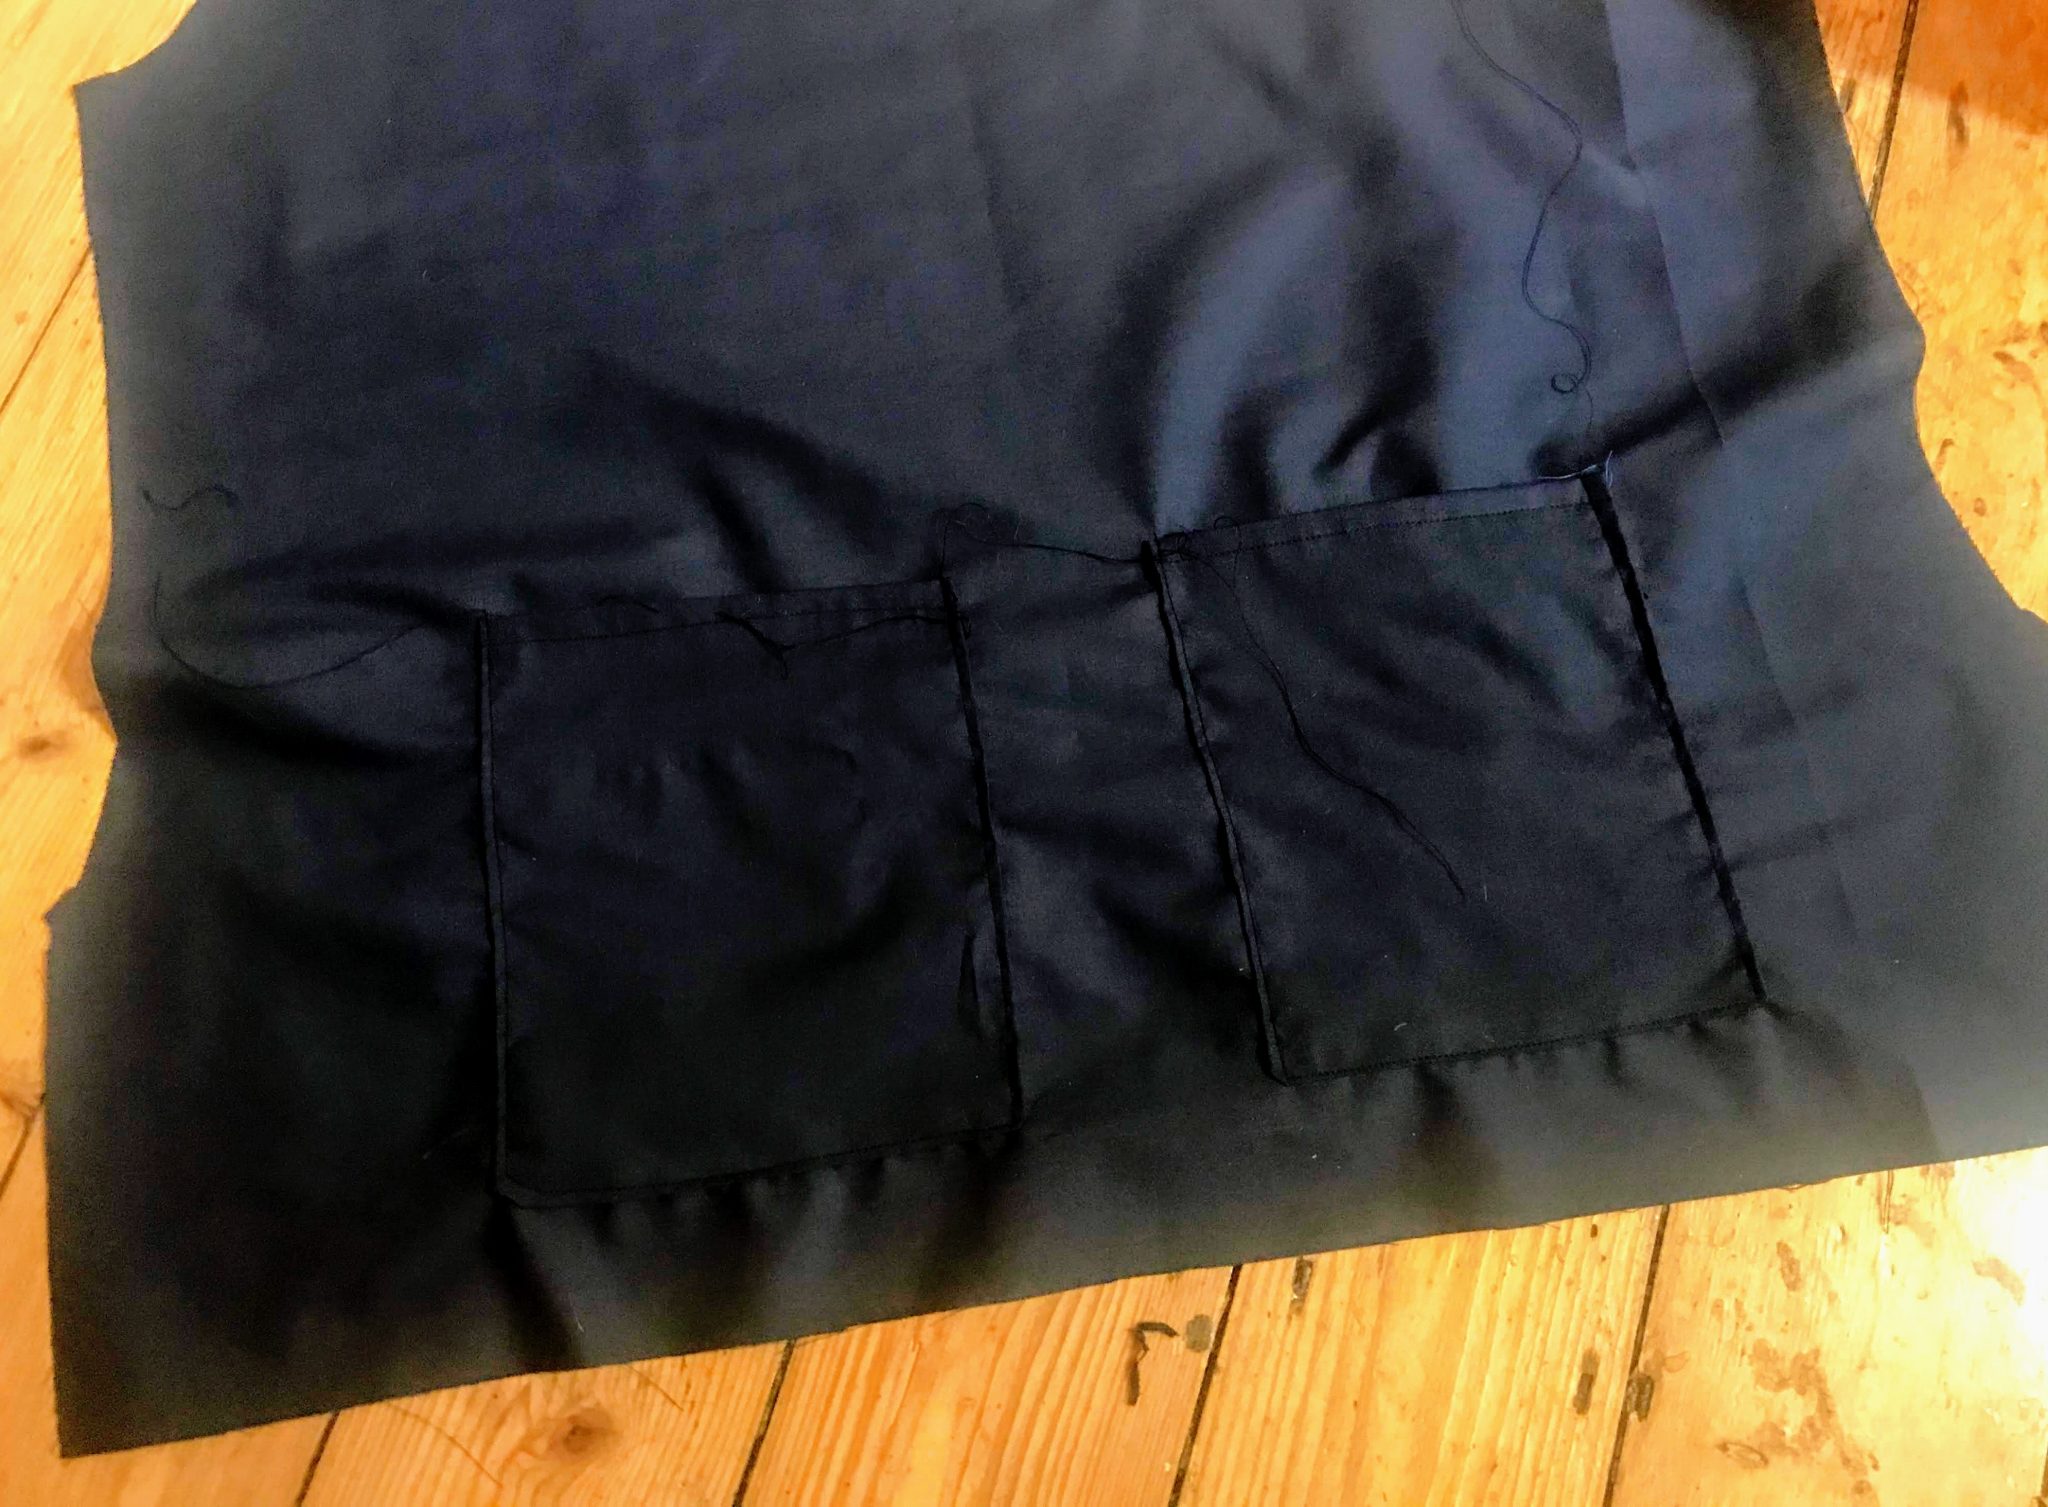
3. Measure where you want to place your pockets, place two on the backs of the trousers and either two or one on the front of the tunic. Remember to place above your hem on the top and below your drawstring channel on your trousers. Make sure they’re pinned in the right place and backstitch the top of the pockets to prevent fraying. Sew small triangles at the top edge corners to keep them sturdy.
Read: All the essentials you need to start sewing or dressmaking
Scrub top instructions:
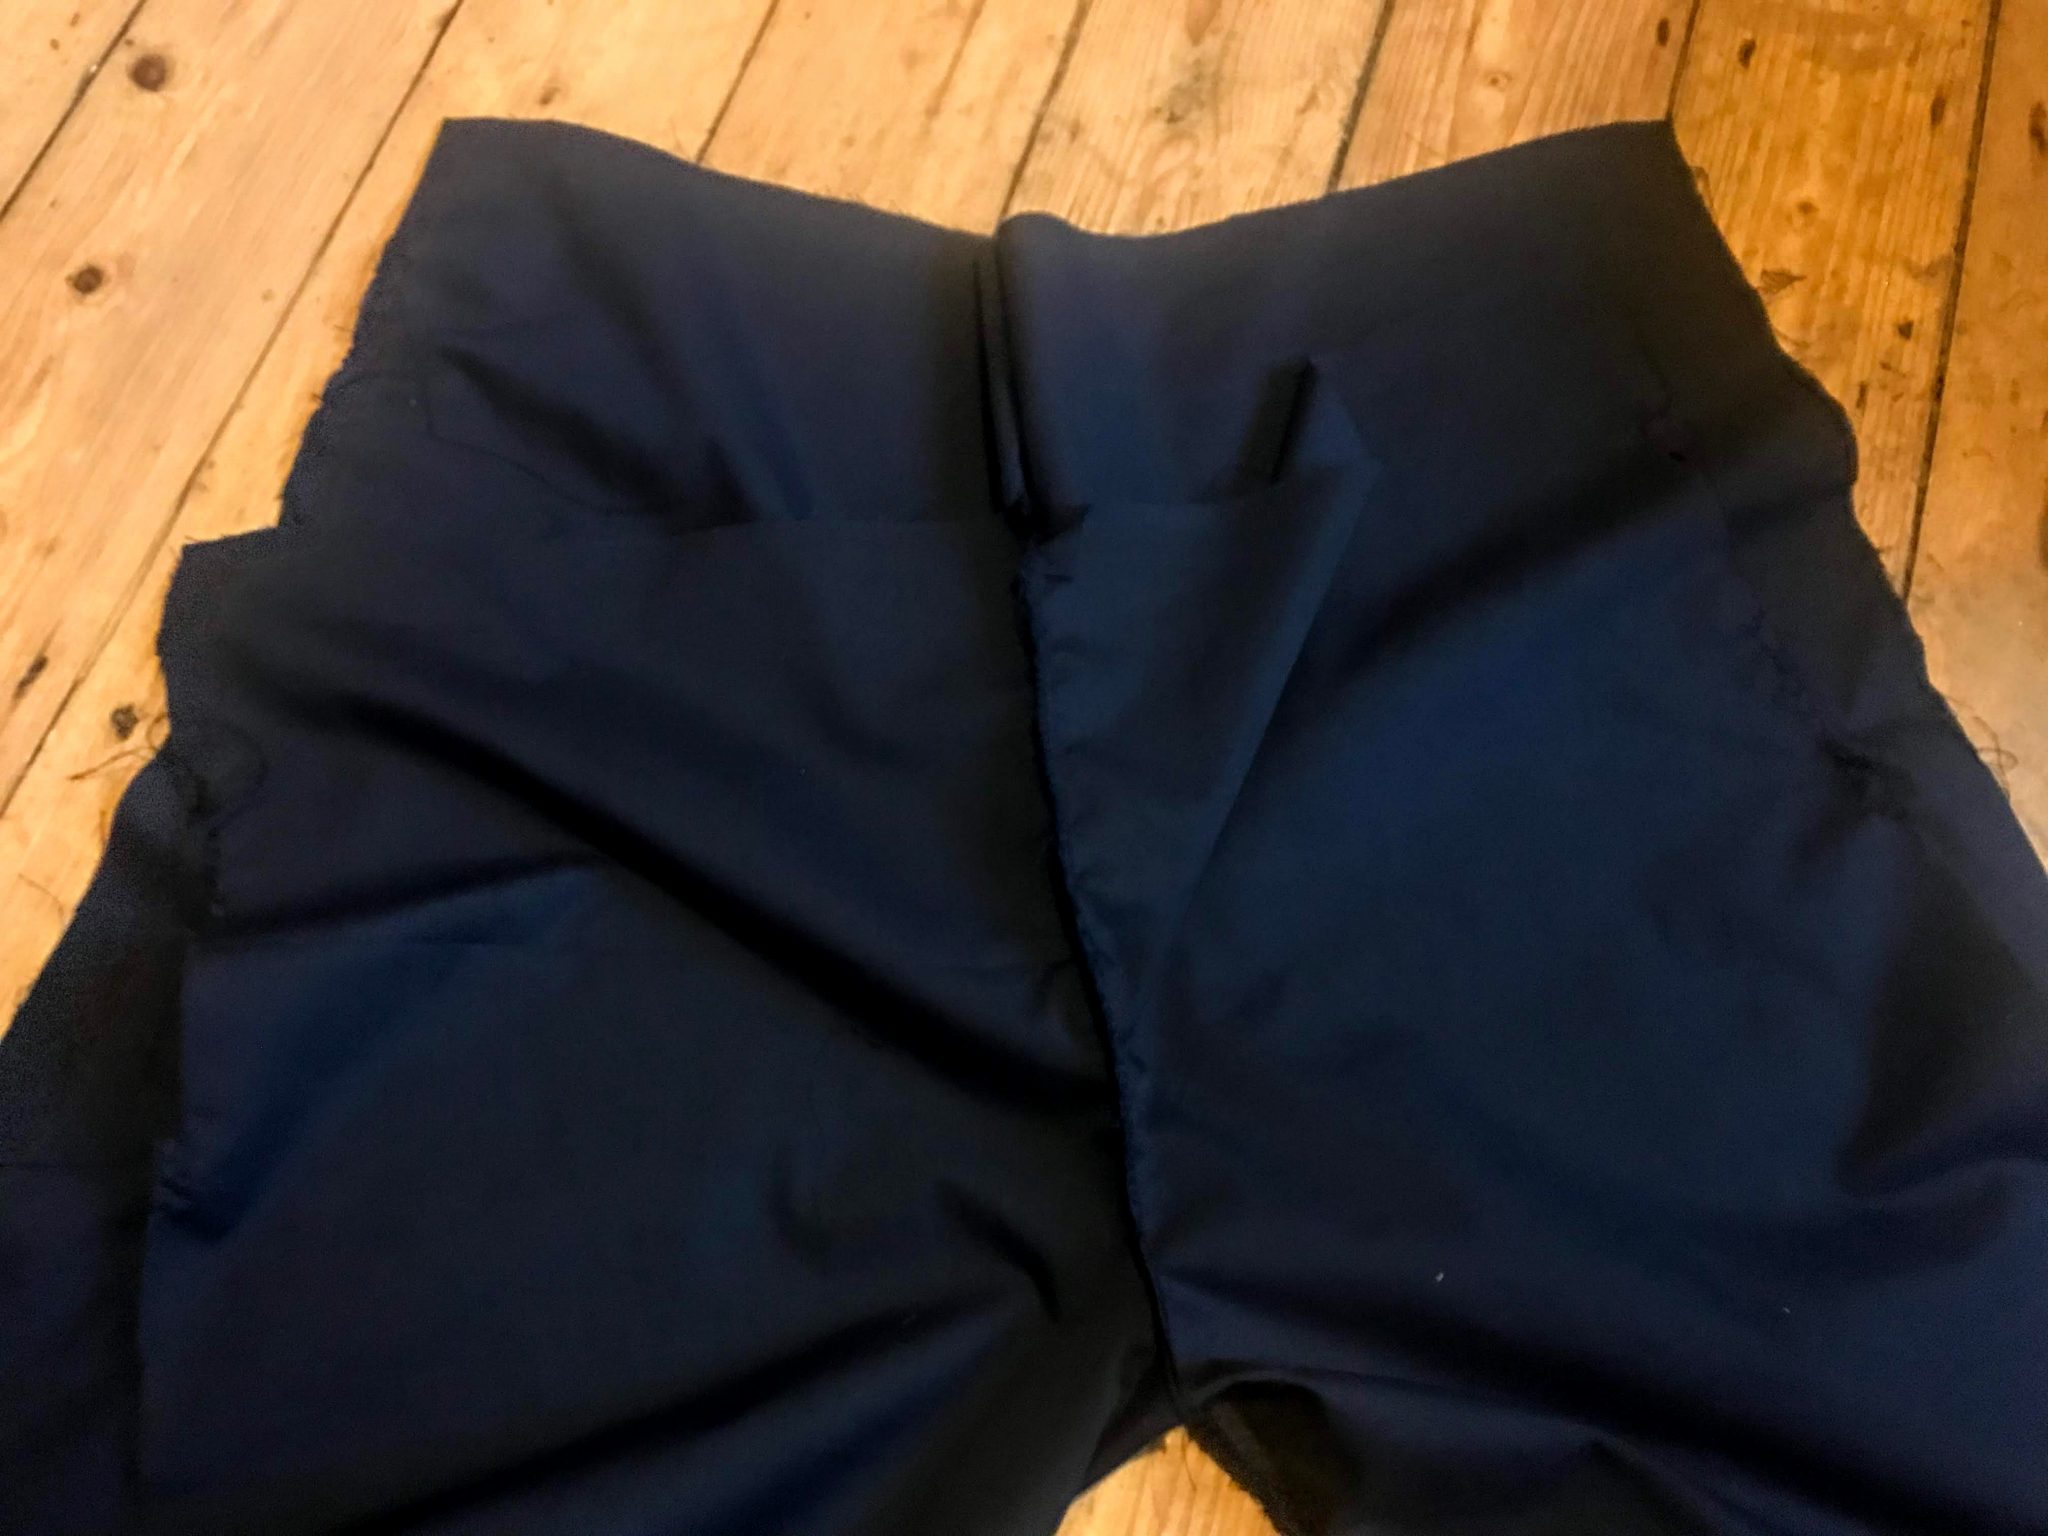
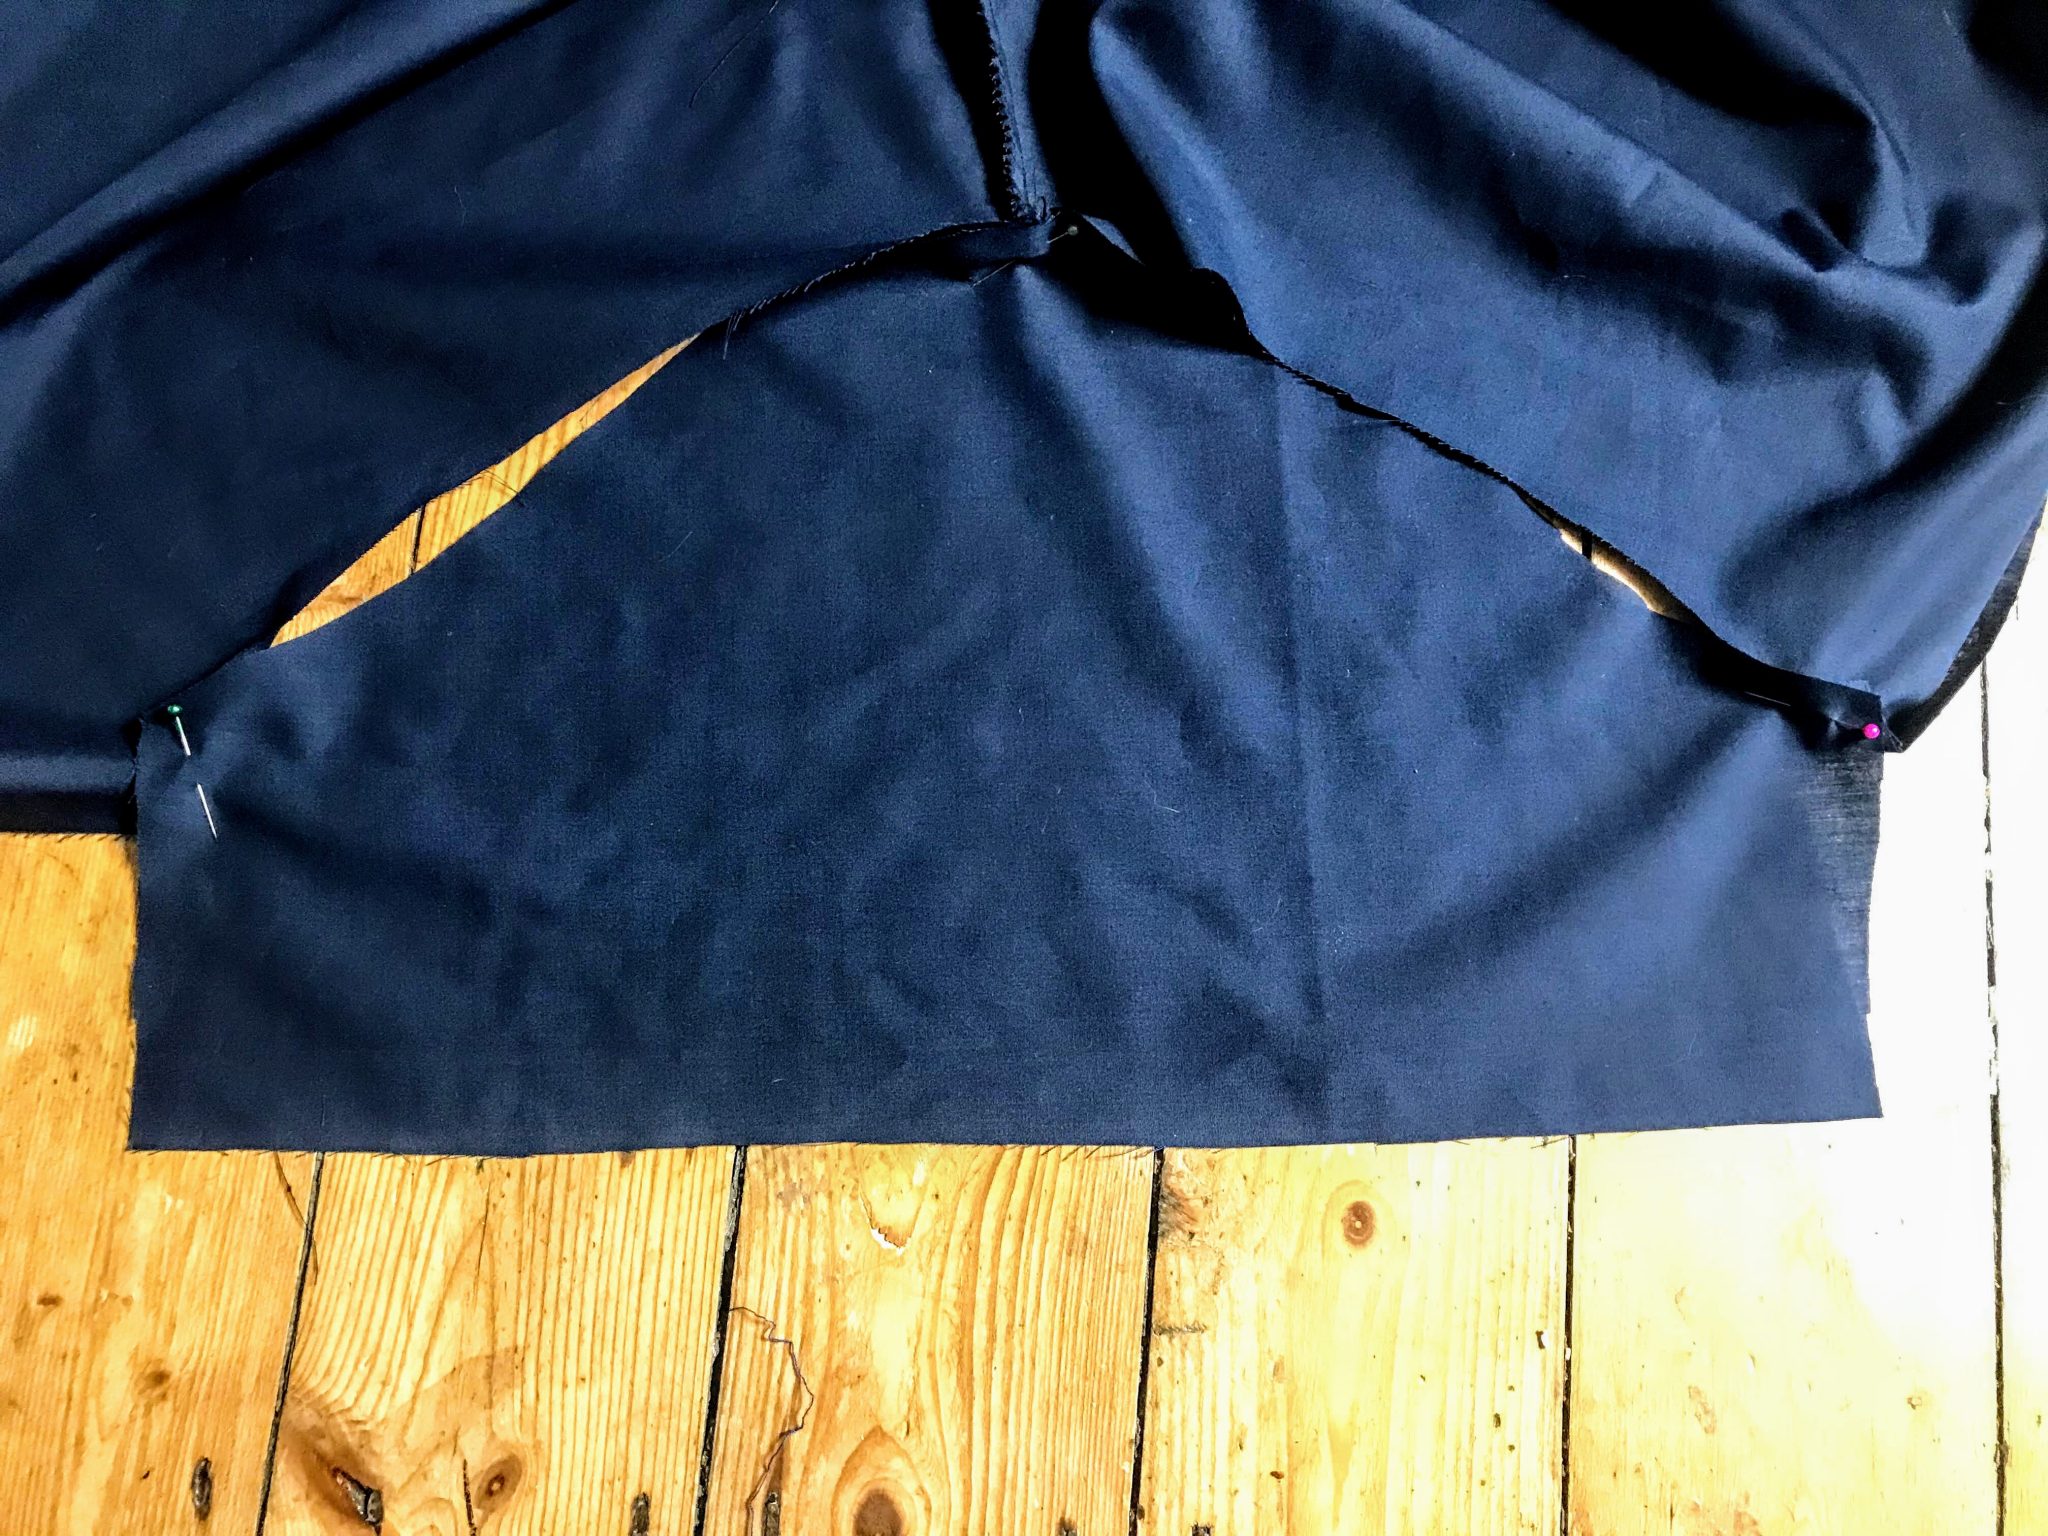
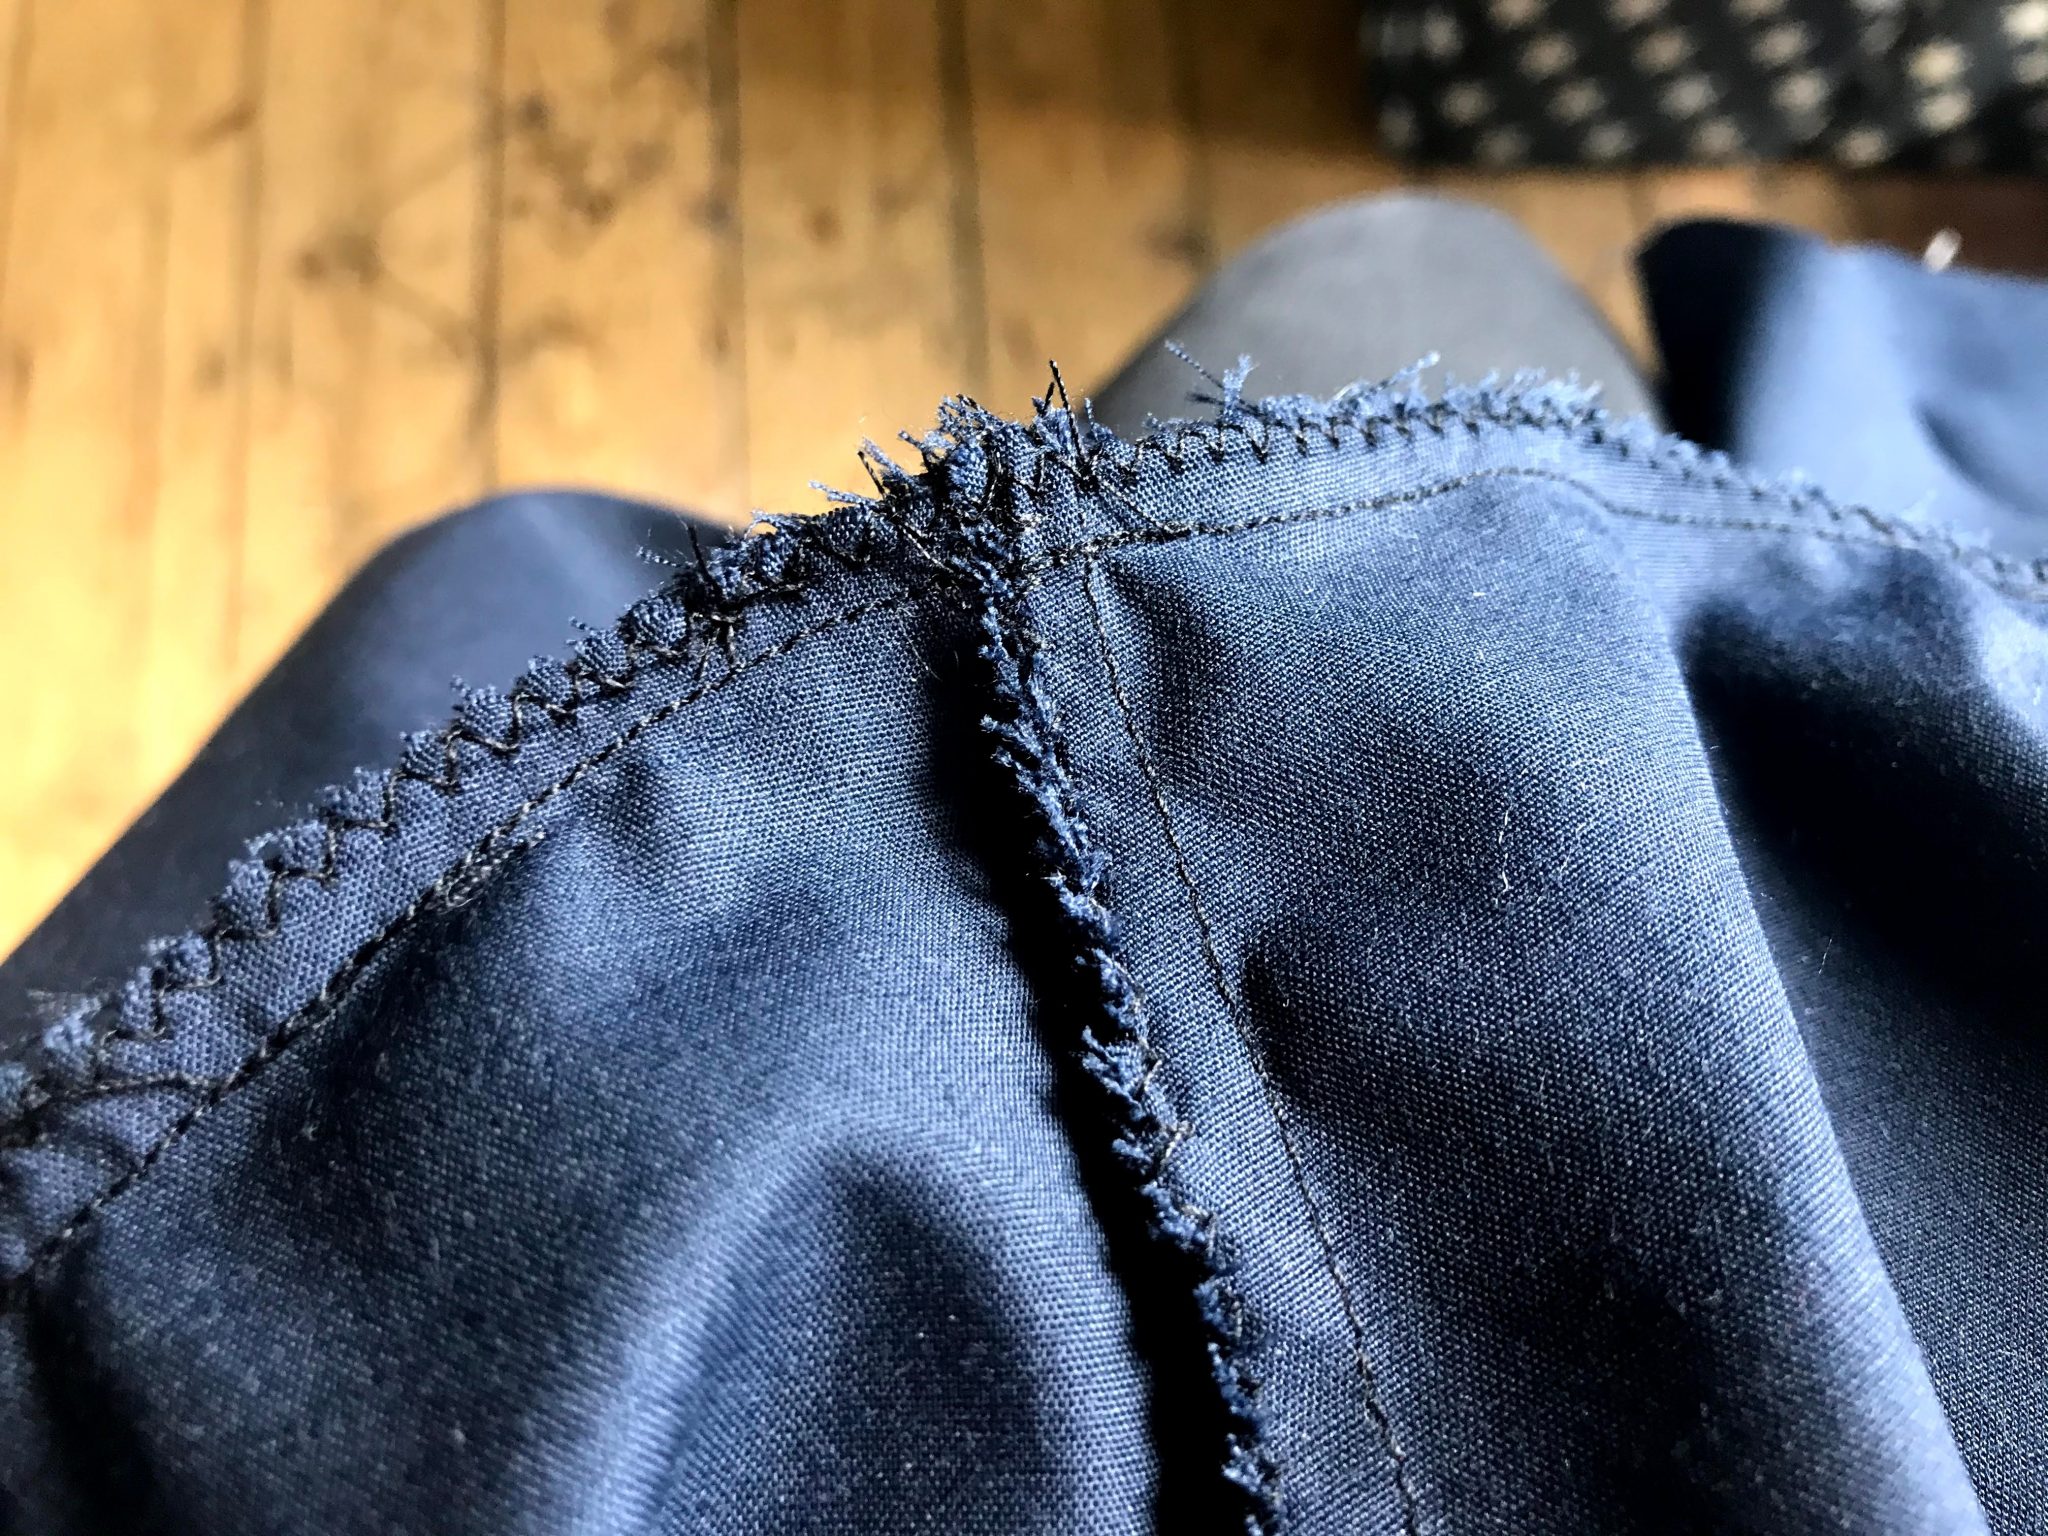
4. Sew the inseams of both of your front and back leg pieces together. Then zigzag or overlock over them. Make sure your pockets are on the right side.
5. Place both legs together so that the ‘U’ shape matches up and the pockets are on the inside. Sew your ‘U’ seam and zigzag over it.
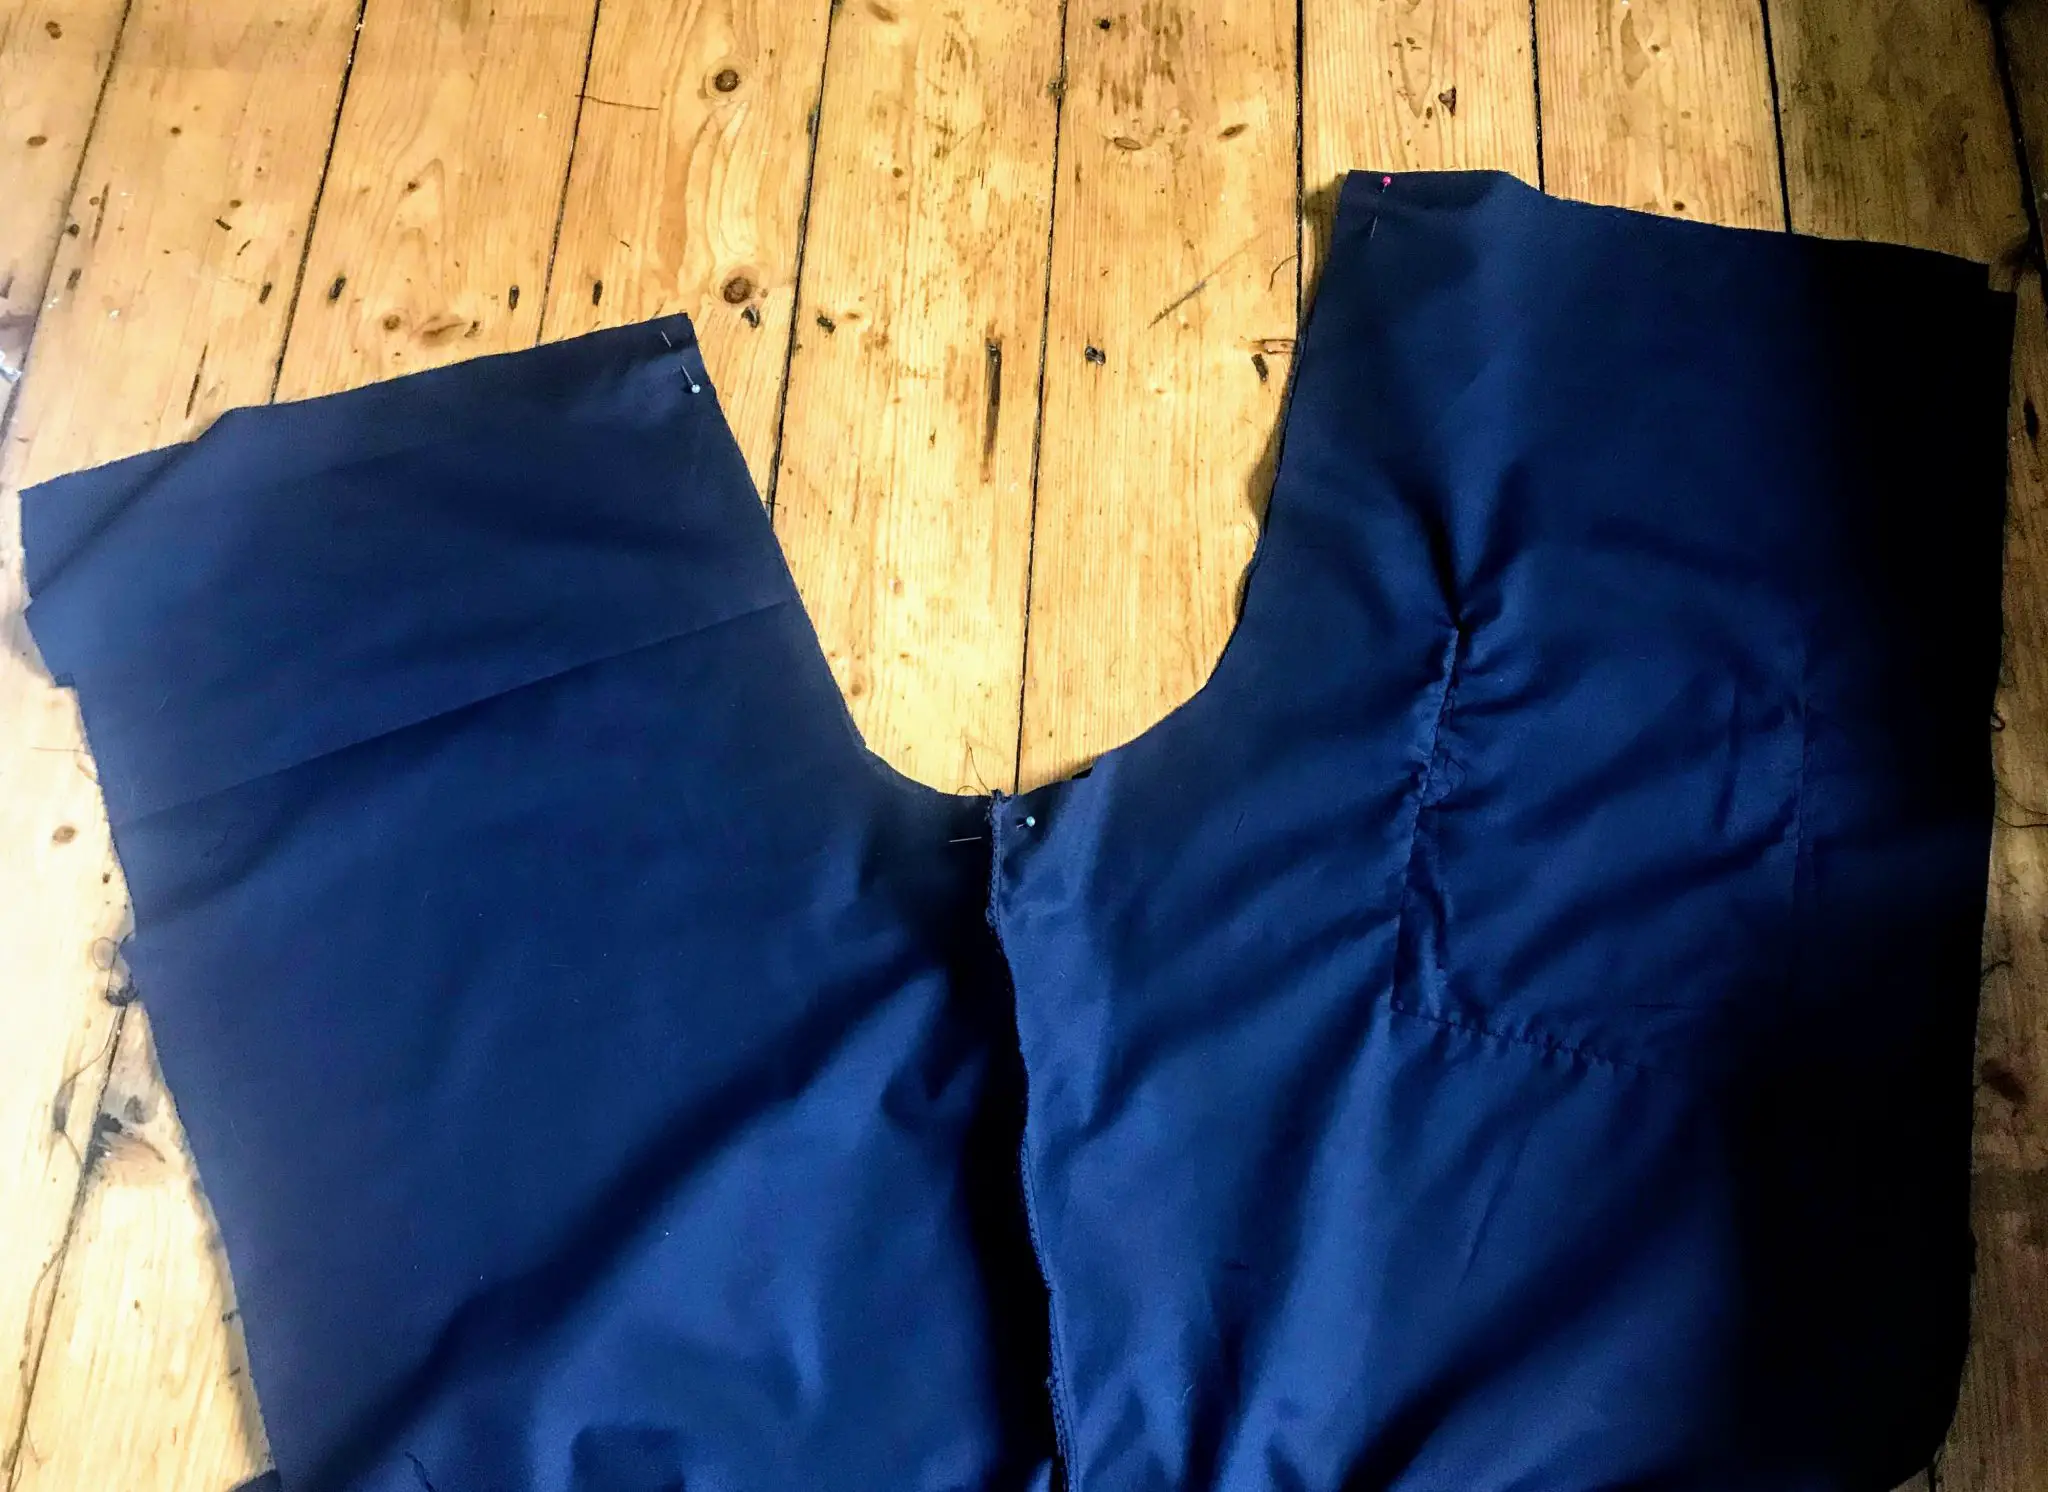
This is how your trousers will look after you’ve sewn them, everything will be attached at the crotch.
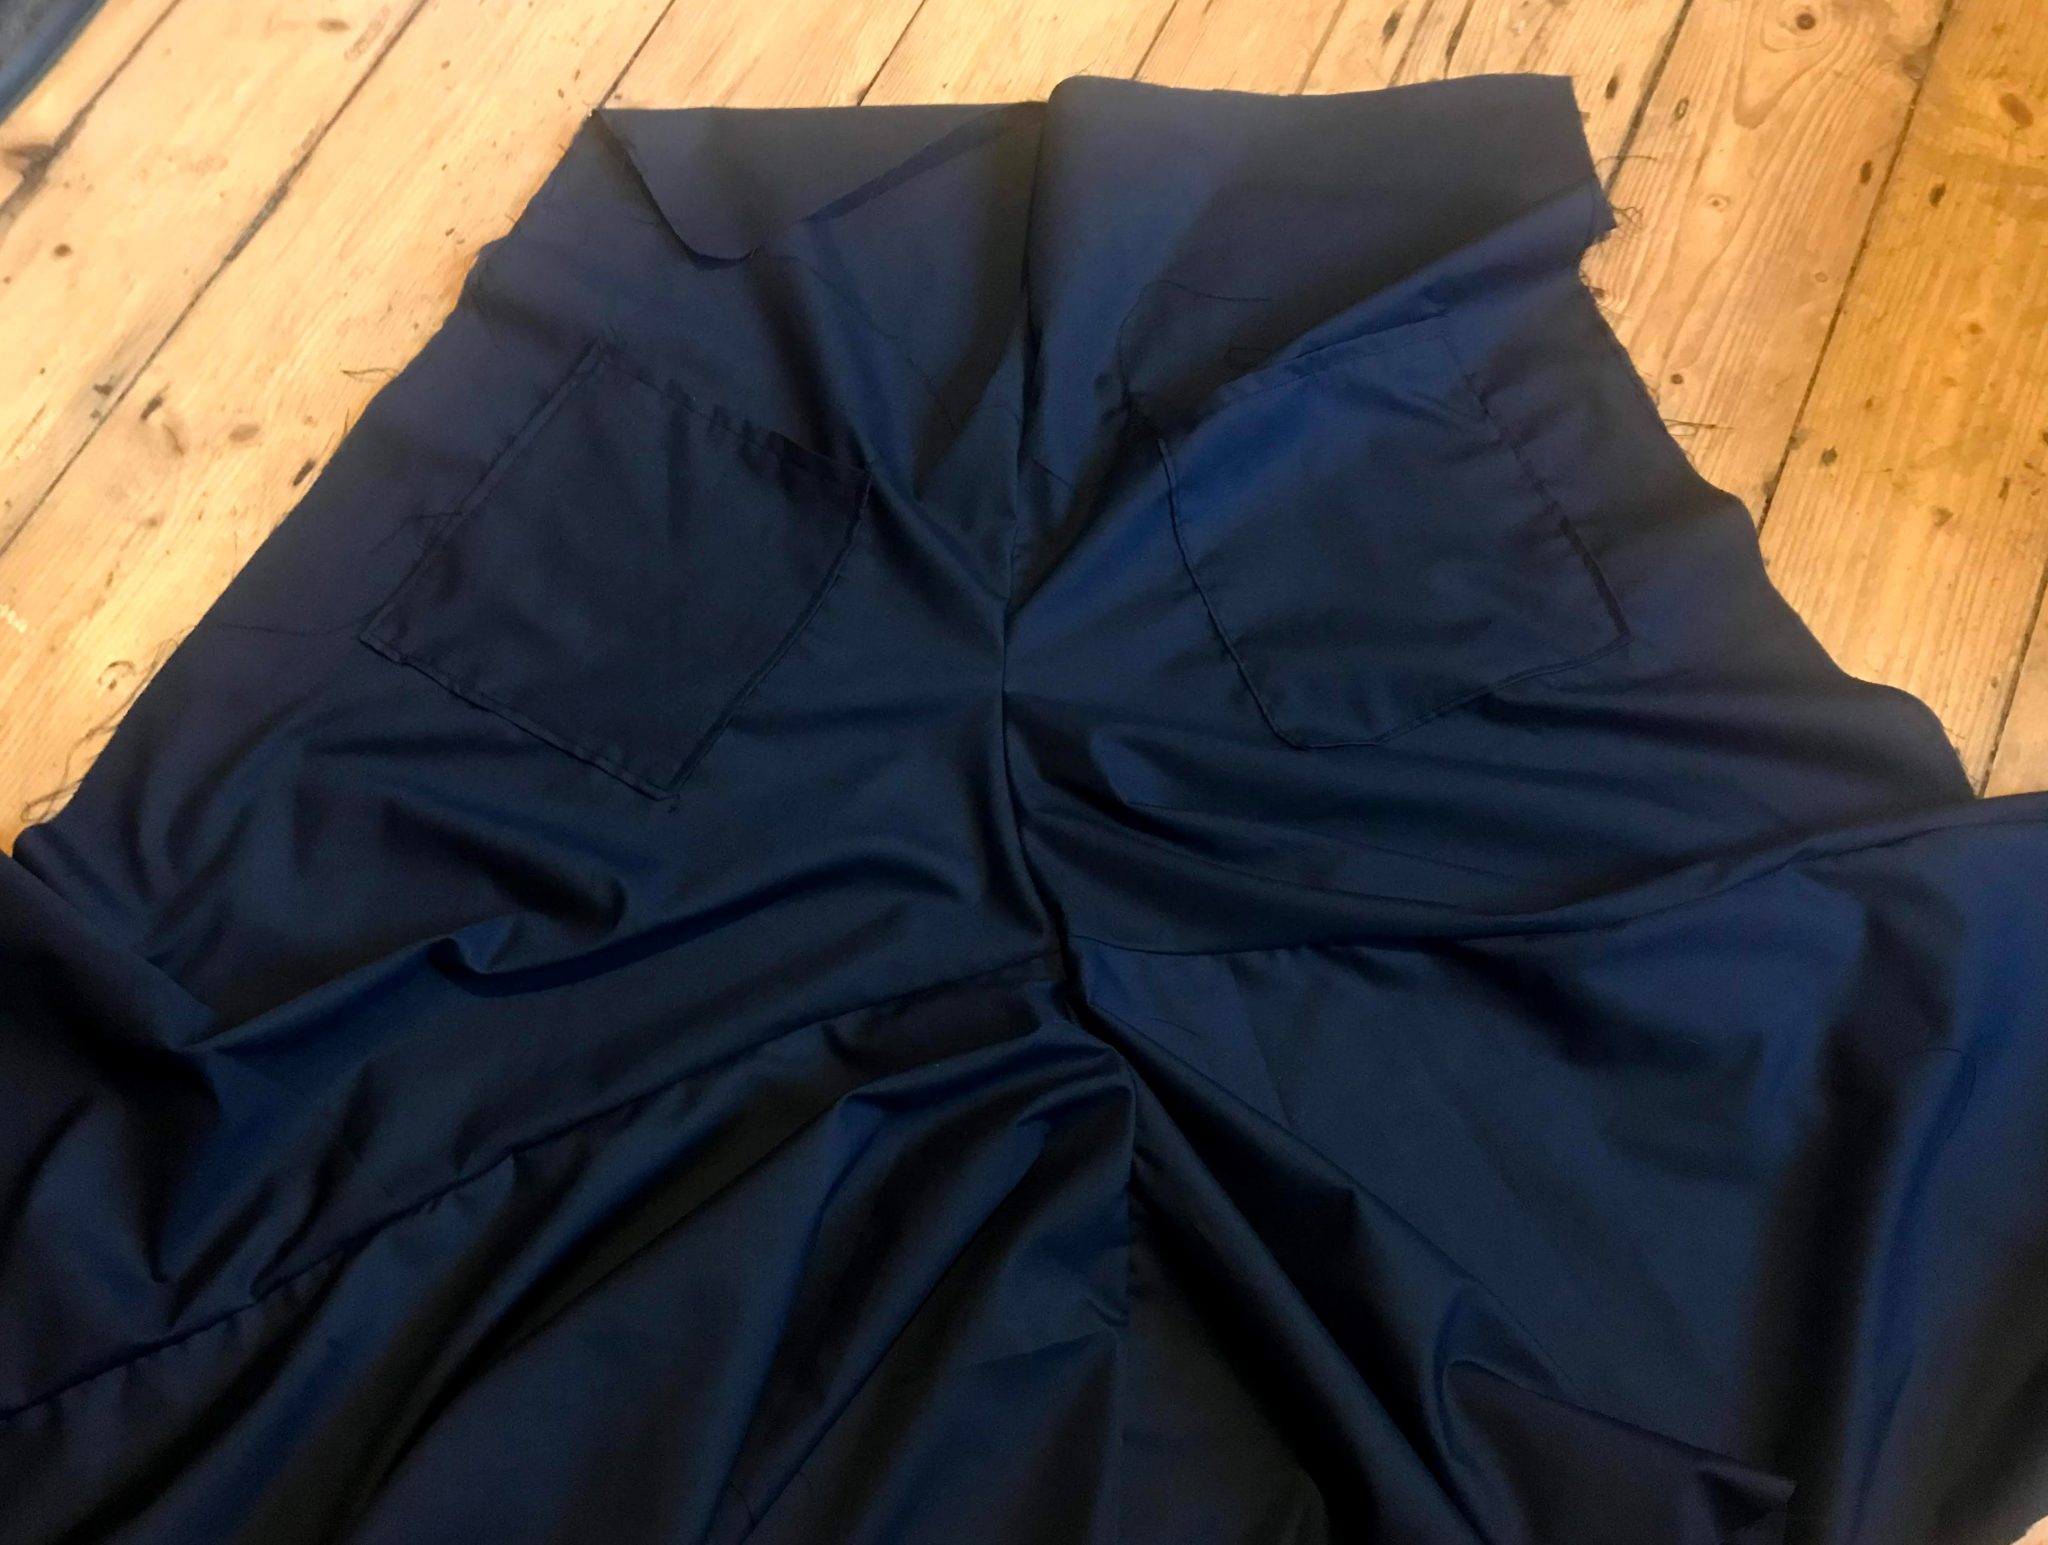
6. Now you should have your crotch fully sewn. Then flip it around so that your trousers are inside out. Sew up both outer seams and zigzag.
*IF YOU’RE ADDING INSIDE SIDE POCKETS DO IT DURING THIS STEP.*
Watch: How to add side pockets tutorial
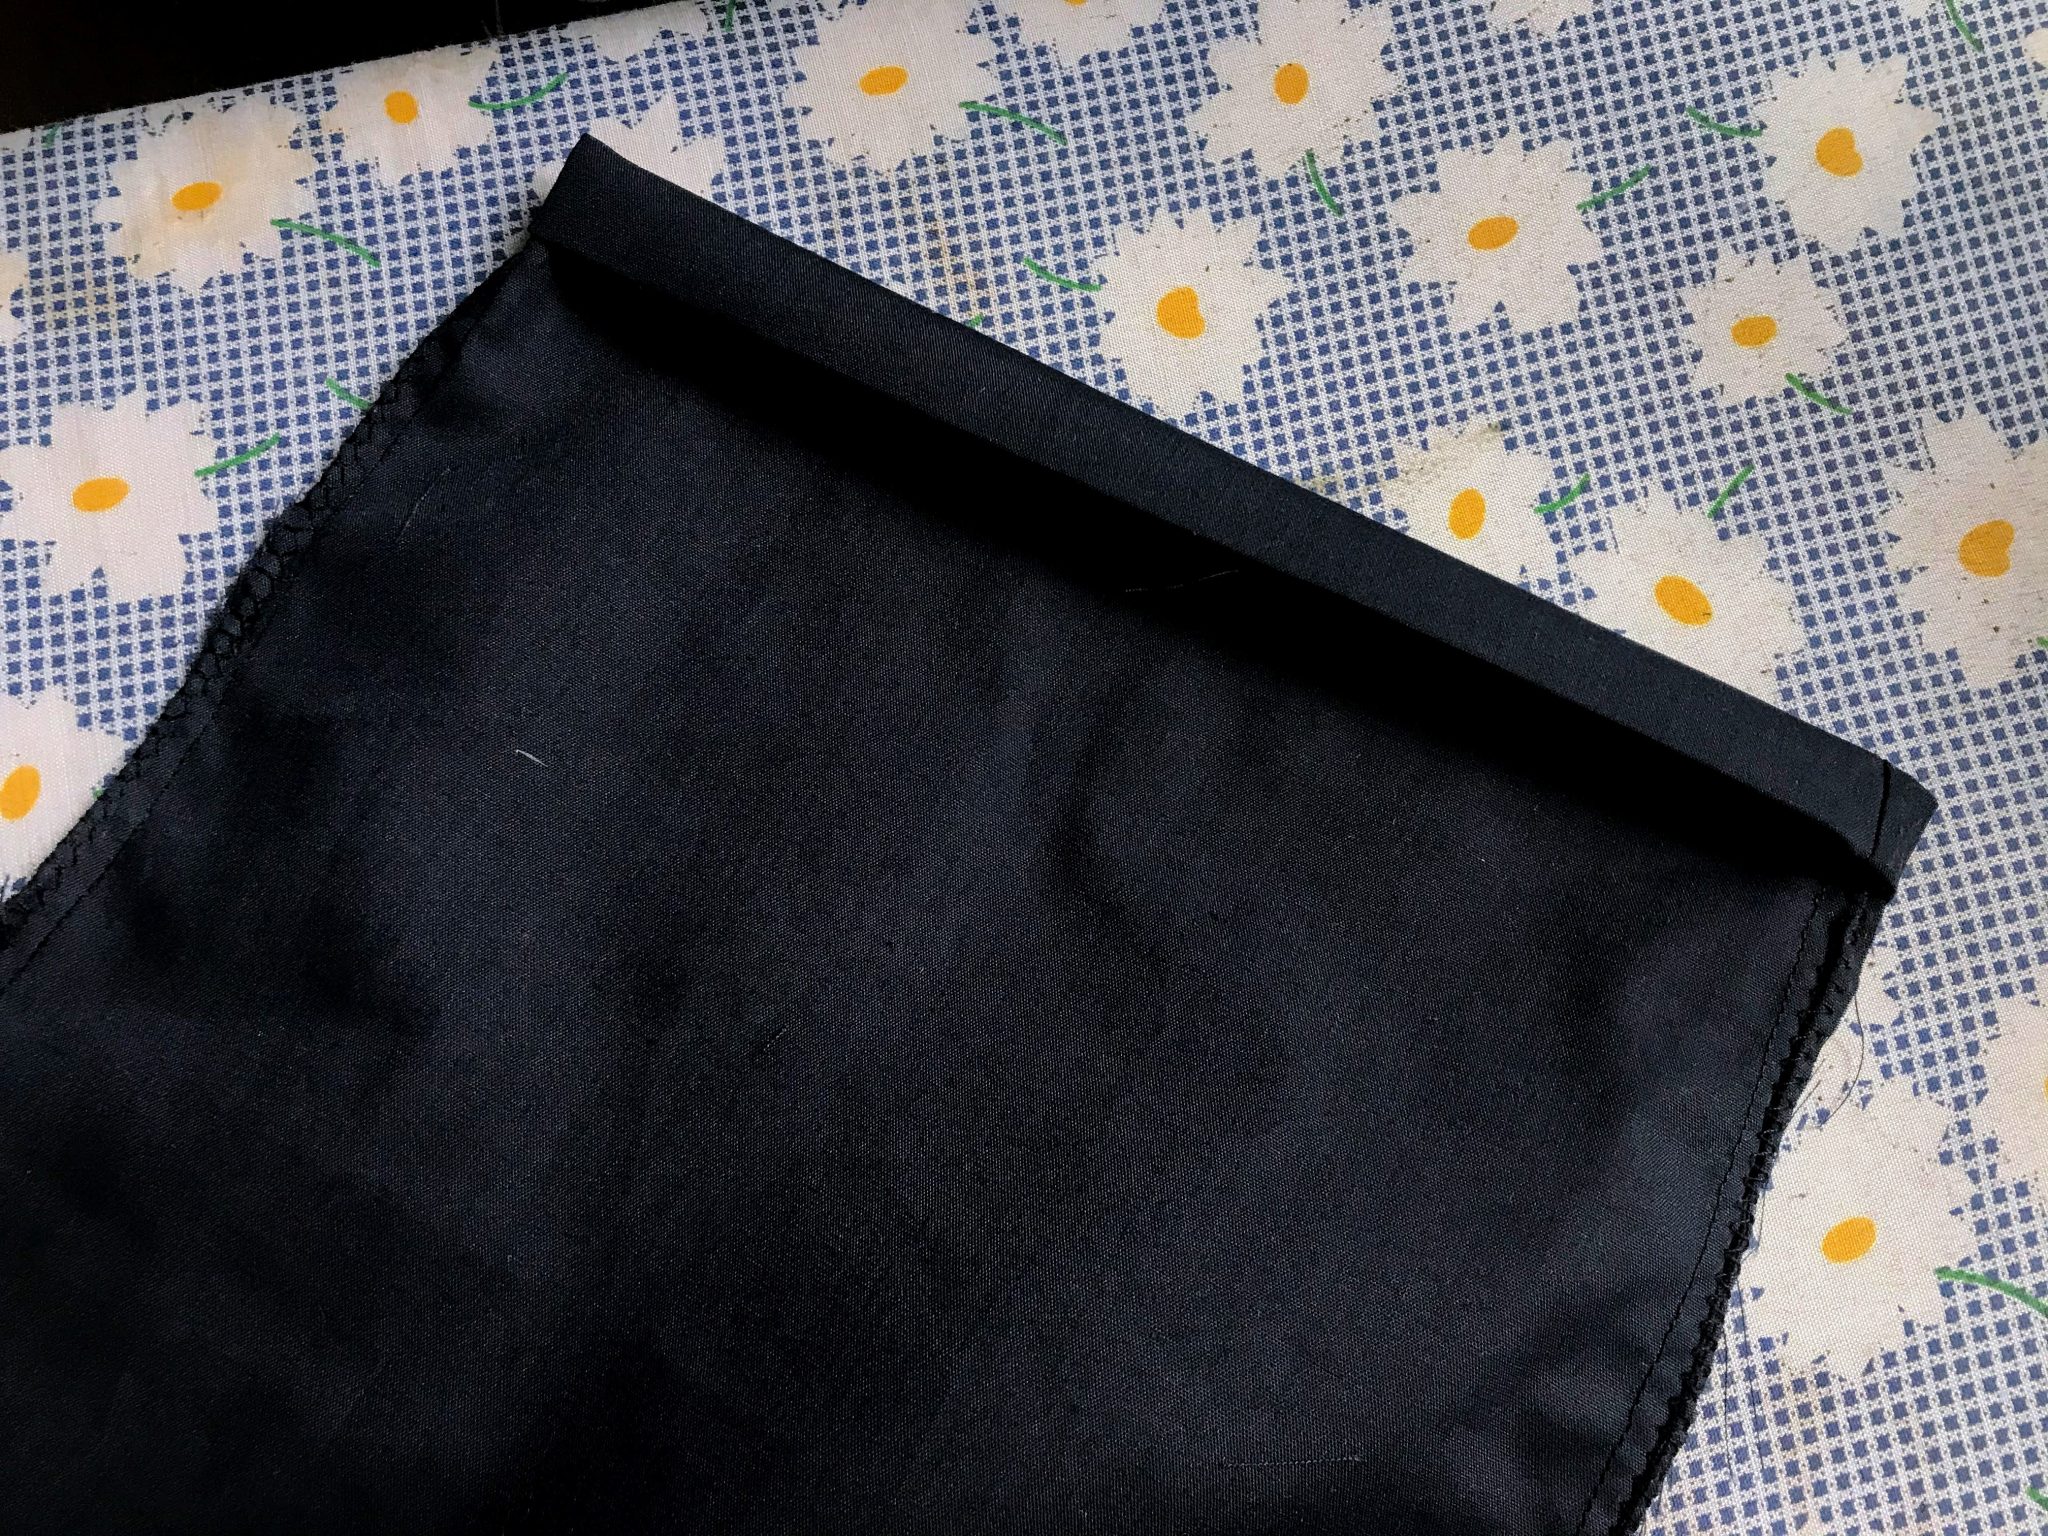
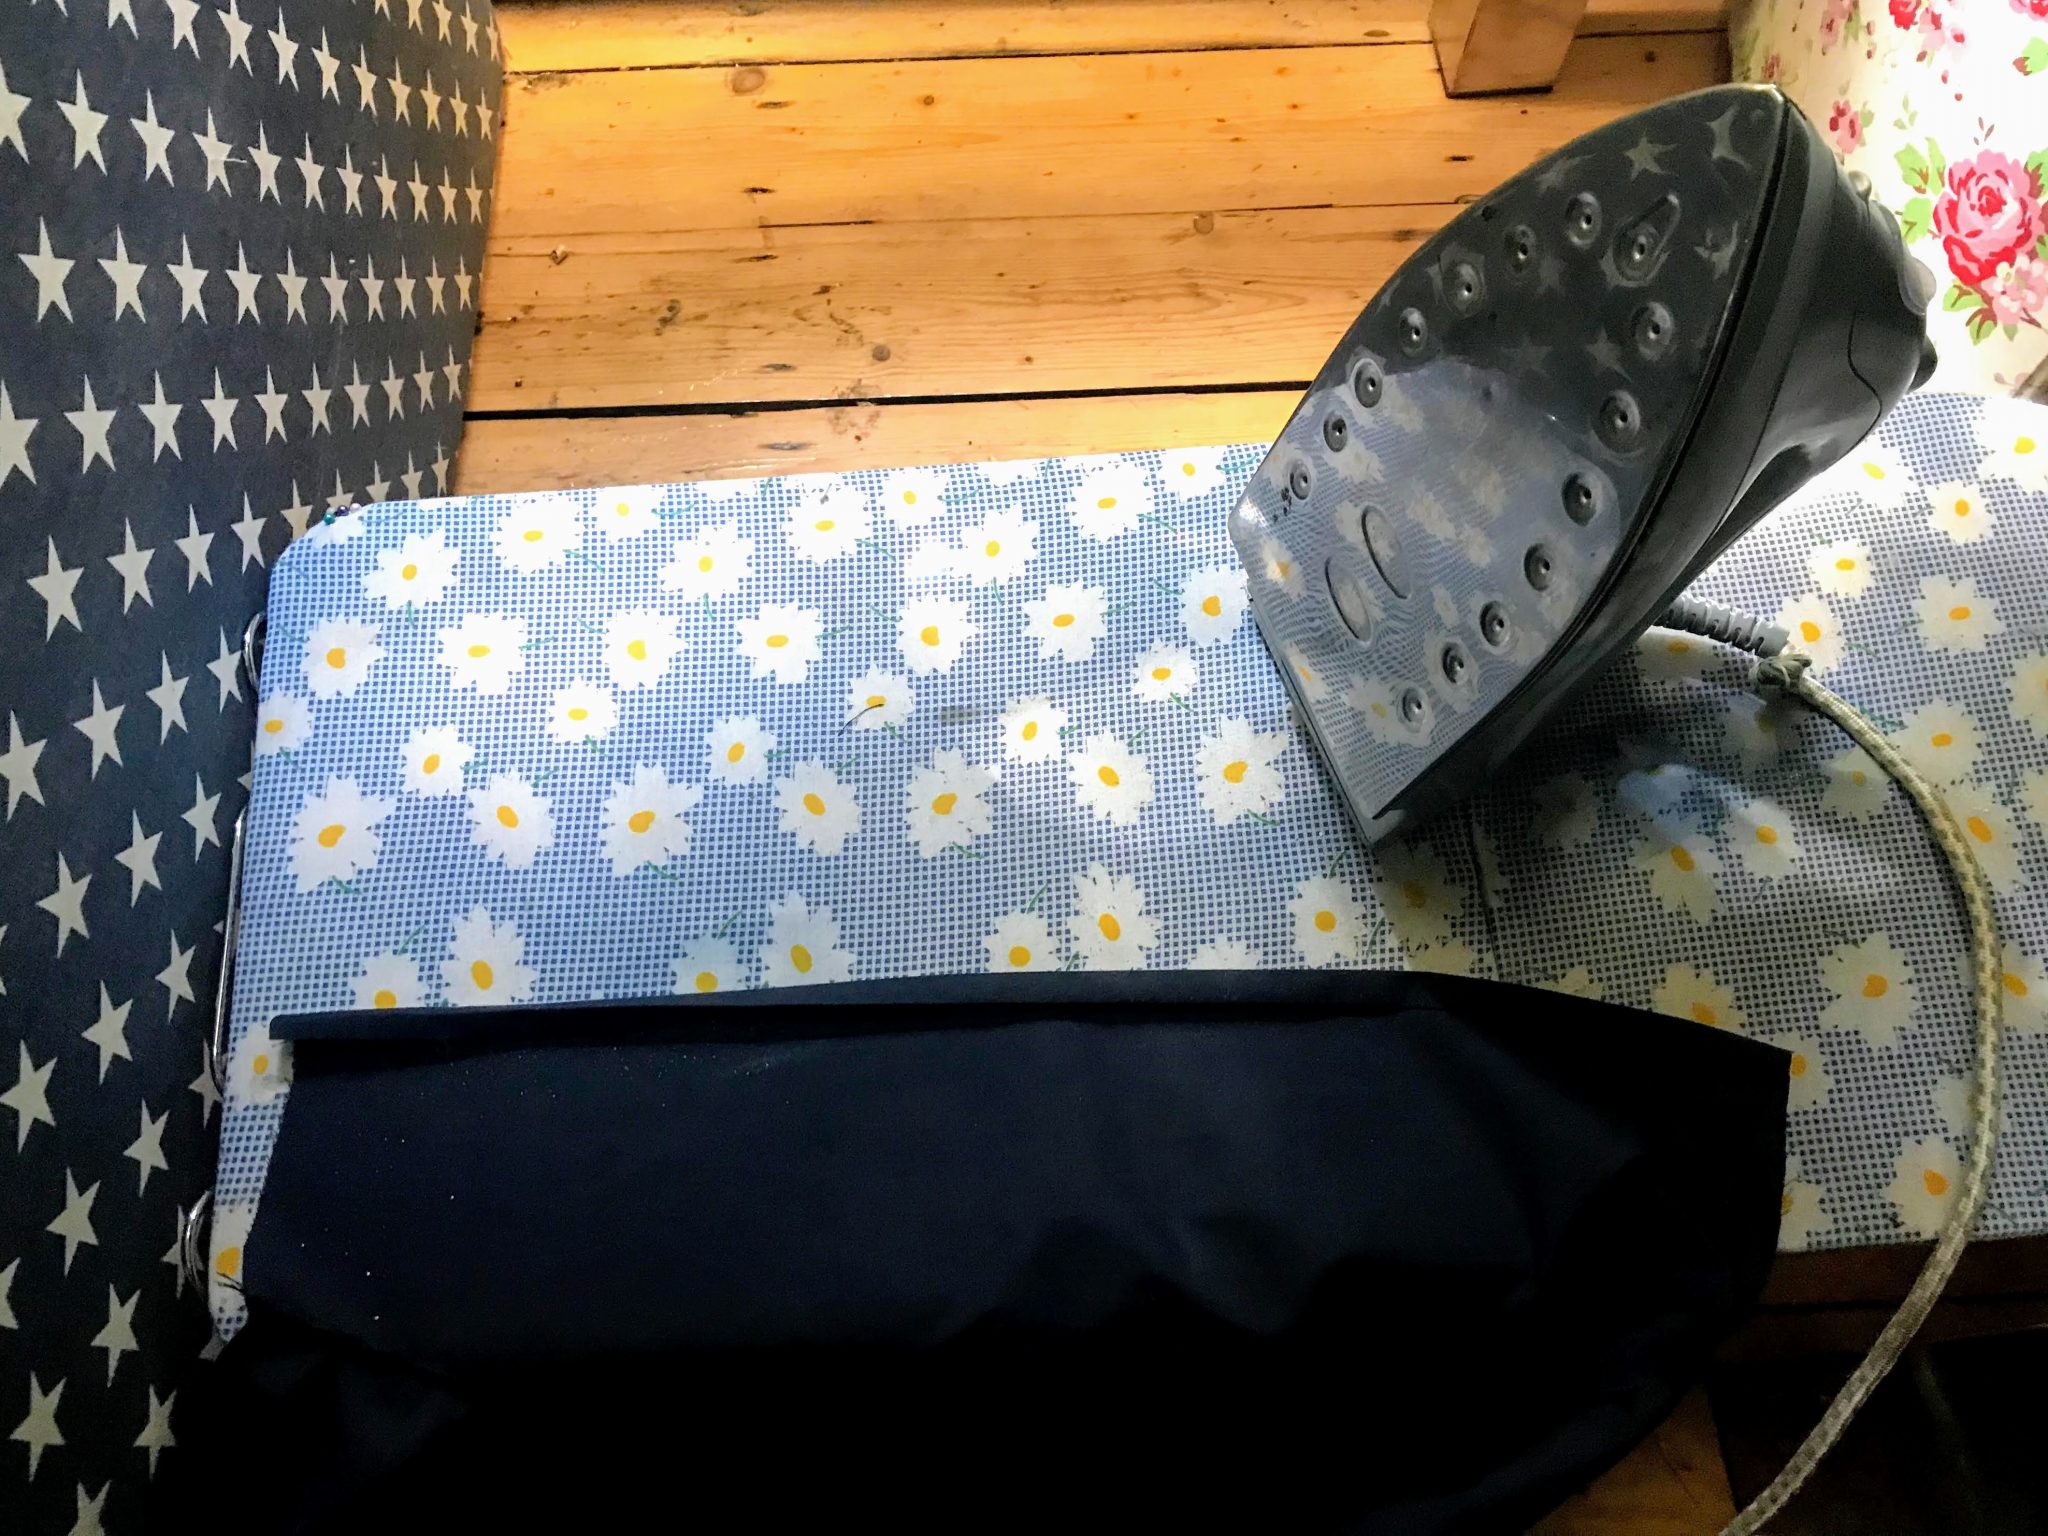
7. Iron and sew you hem the bottom of your trousers.
8. Create a channel at the top for your drawstring. If you don’t have a drawstring you can make one from scrap fabric. The size of this depends on how thick your drawstring is – press it before you sew to make sure it’s the same on the way around. Make a hem and turn it over to create your tube. Add safety pins to the ends of your drawstring so you don’t lose it inside the channel.
If you’re using drawstring elastic then fold half a centimetre over and stitch onto the elastic all the way around.
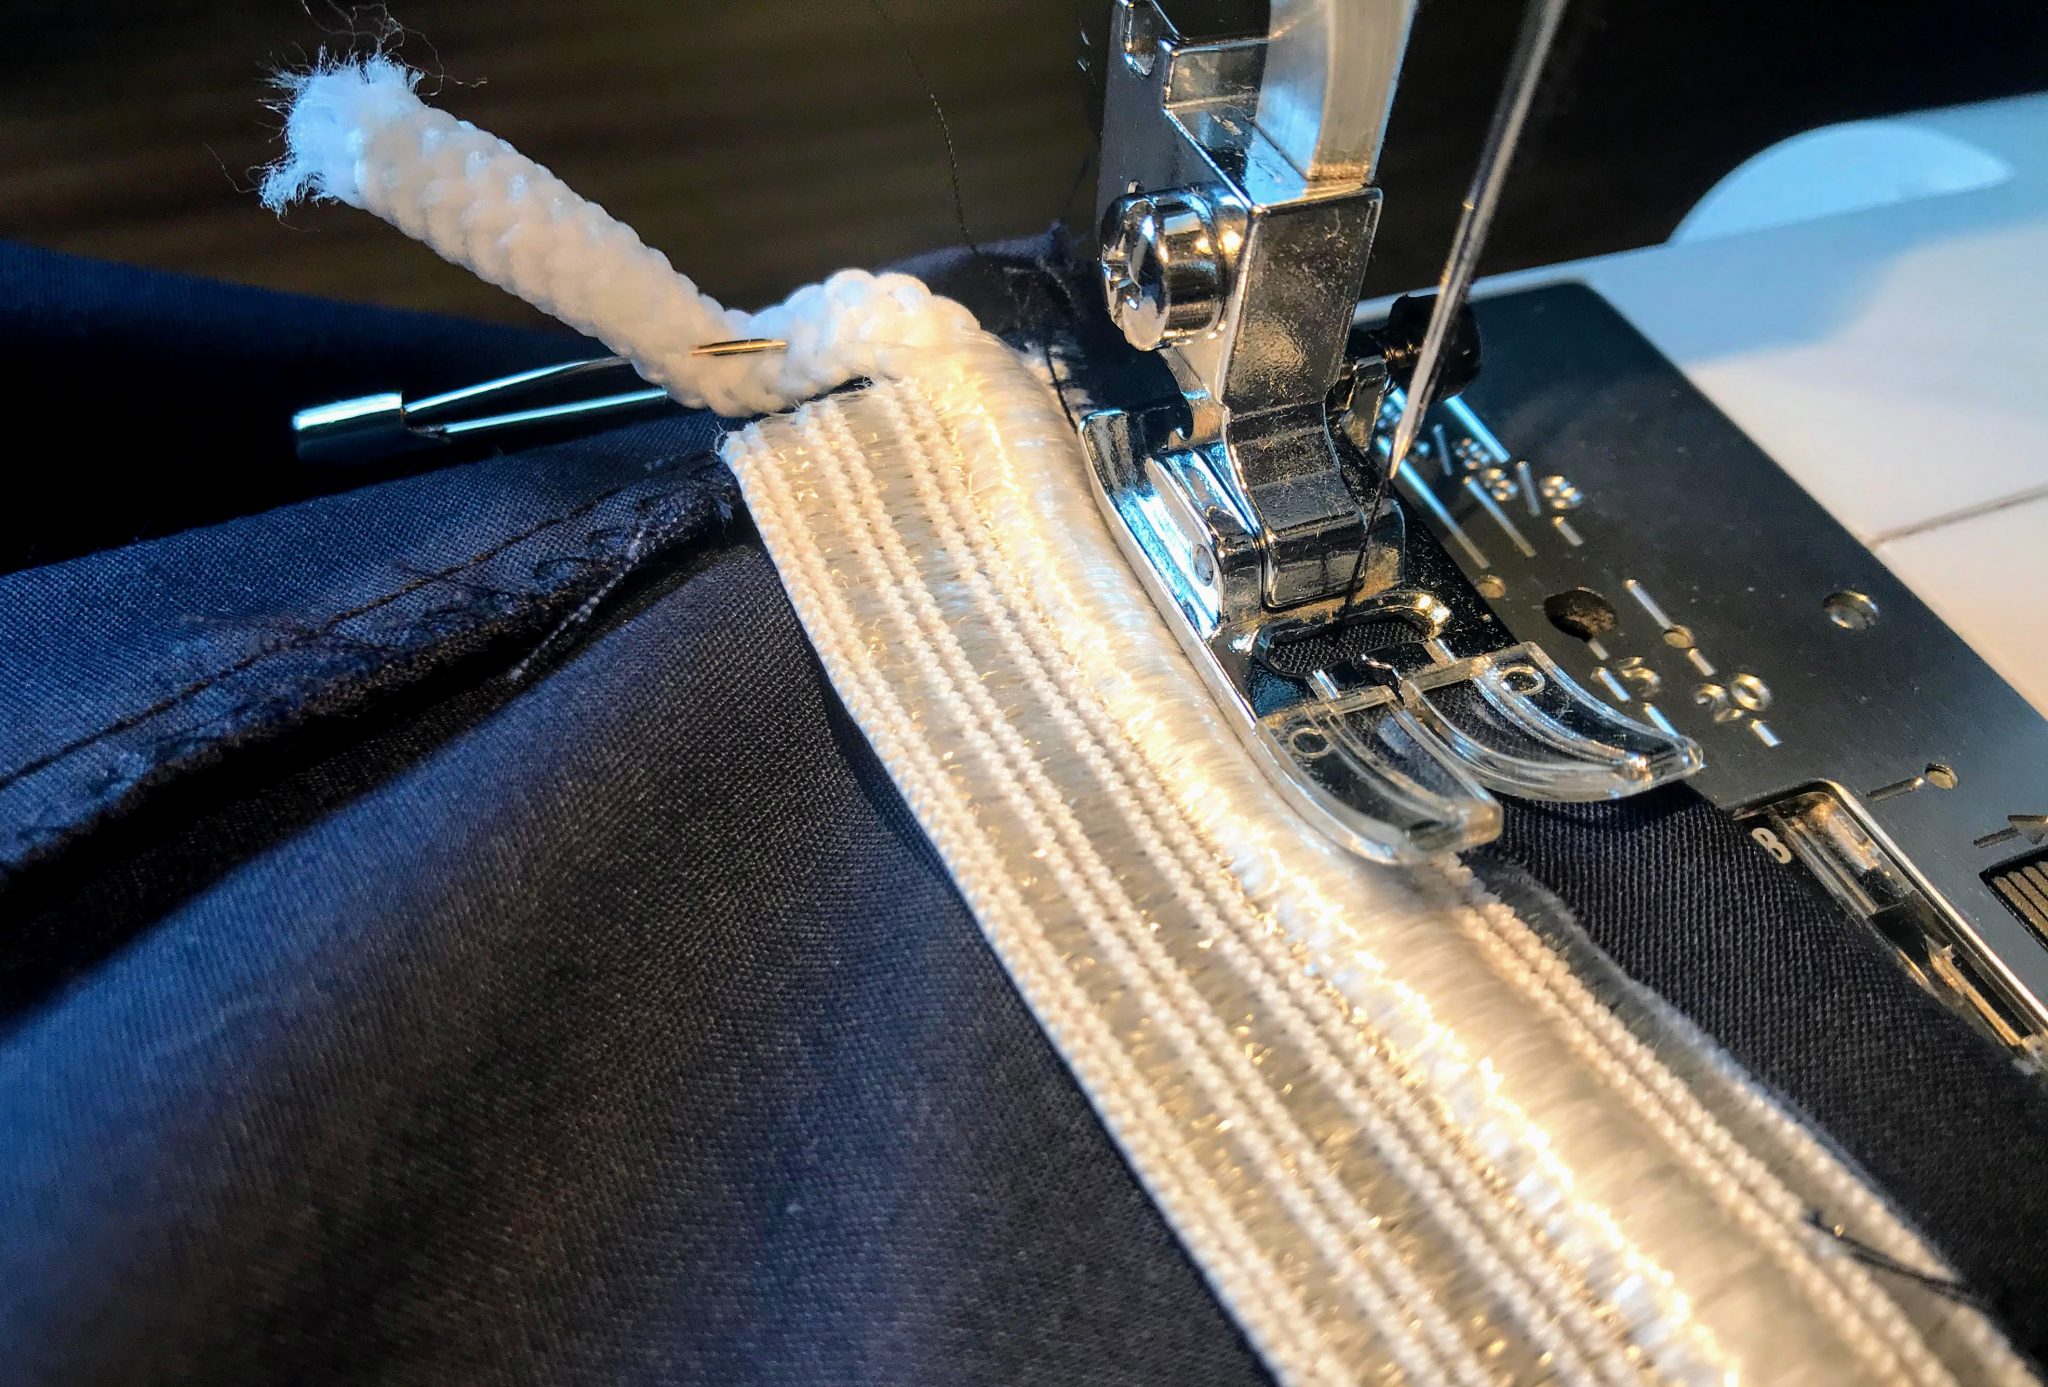
Fold over and overstitch all the way around and then sew around the bottom. Slightly stretch your elastic as you go but keep it as flat as possible.

Make sure your drawstring doesn’t slip inside and leave a gap in the bottom for the strings. Backstitch the end of your channel so they don’t fray.
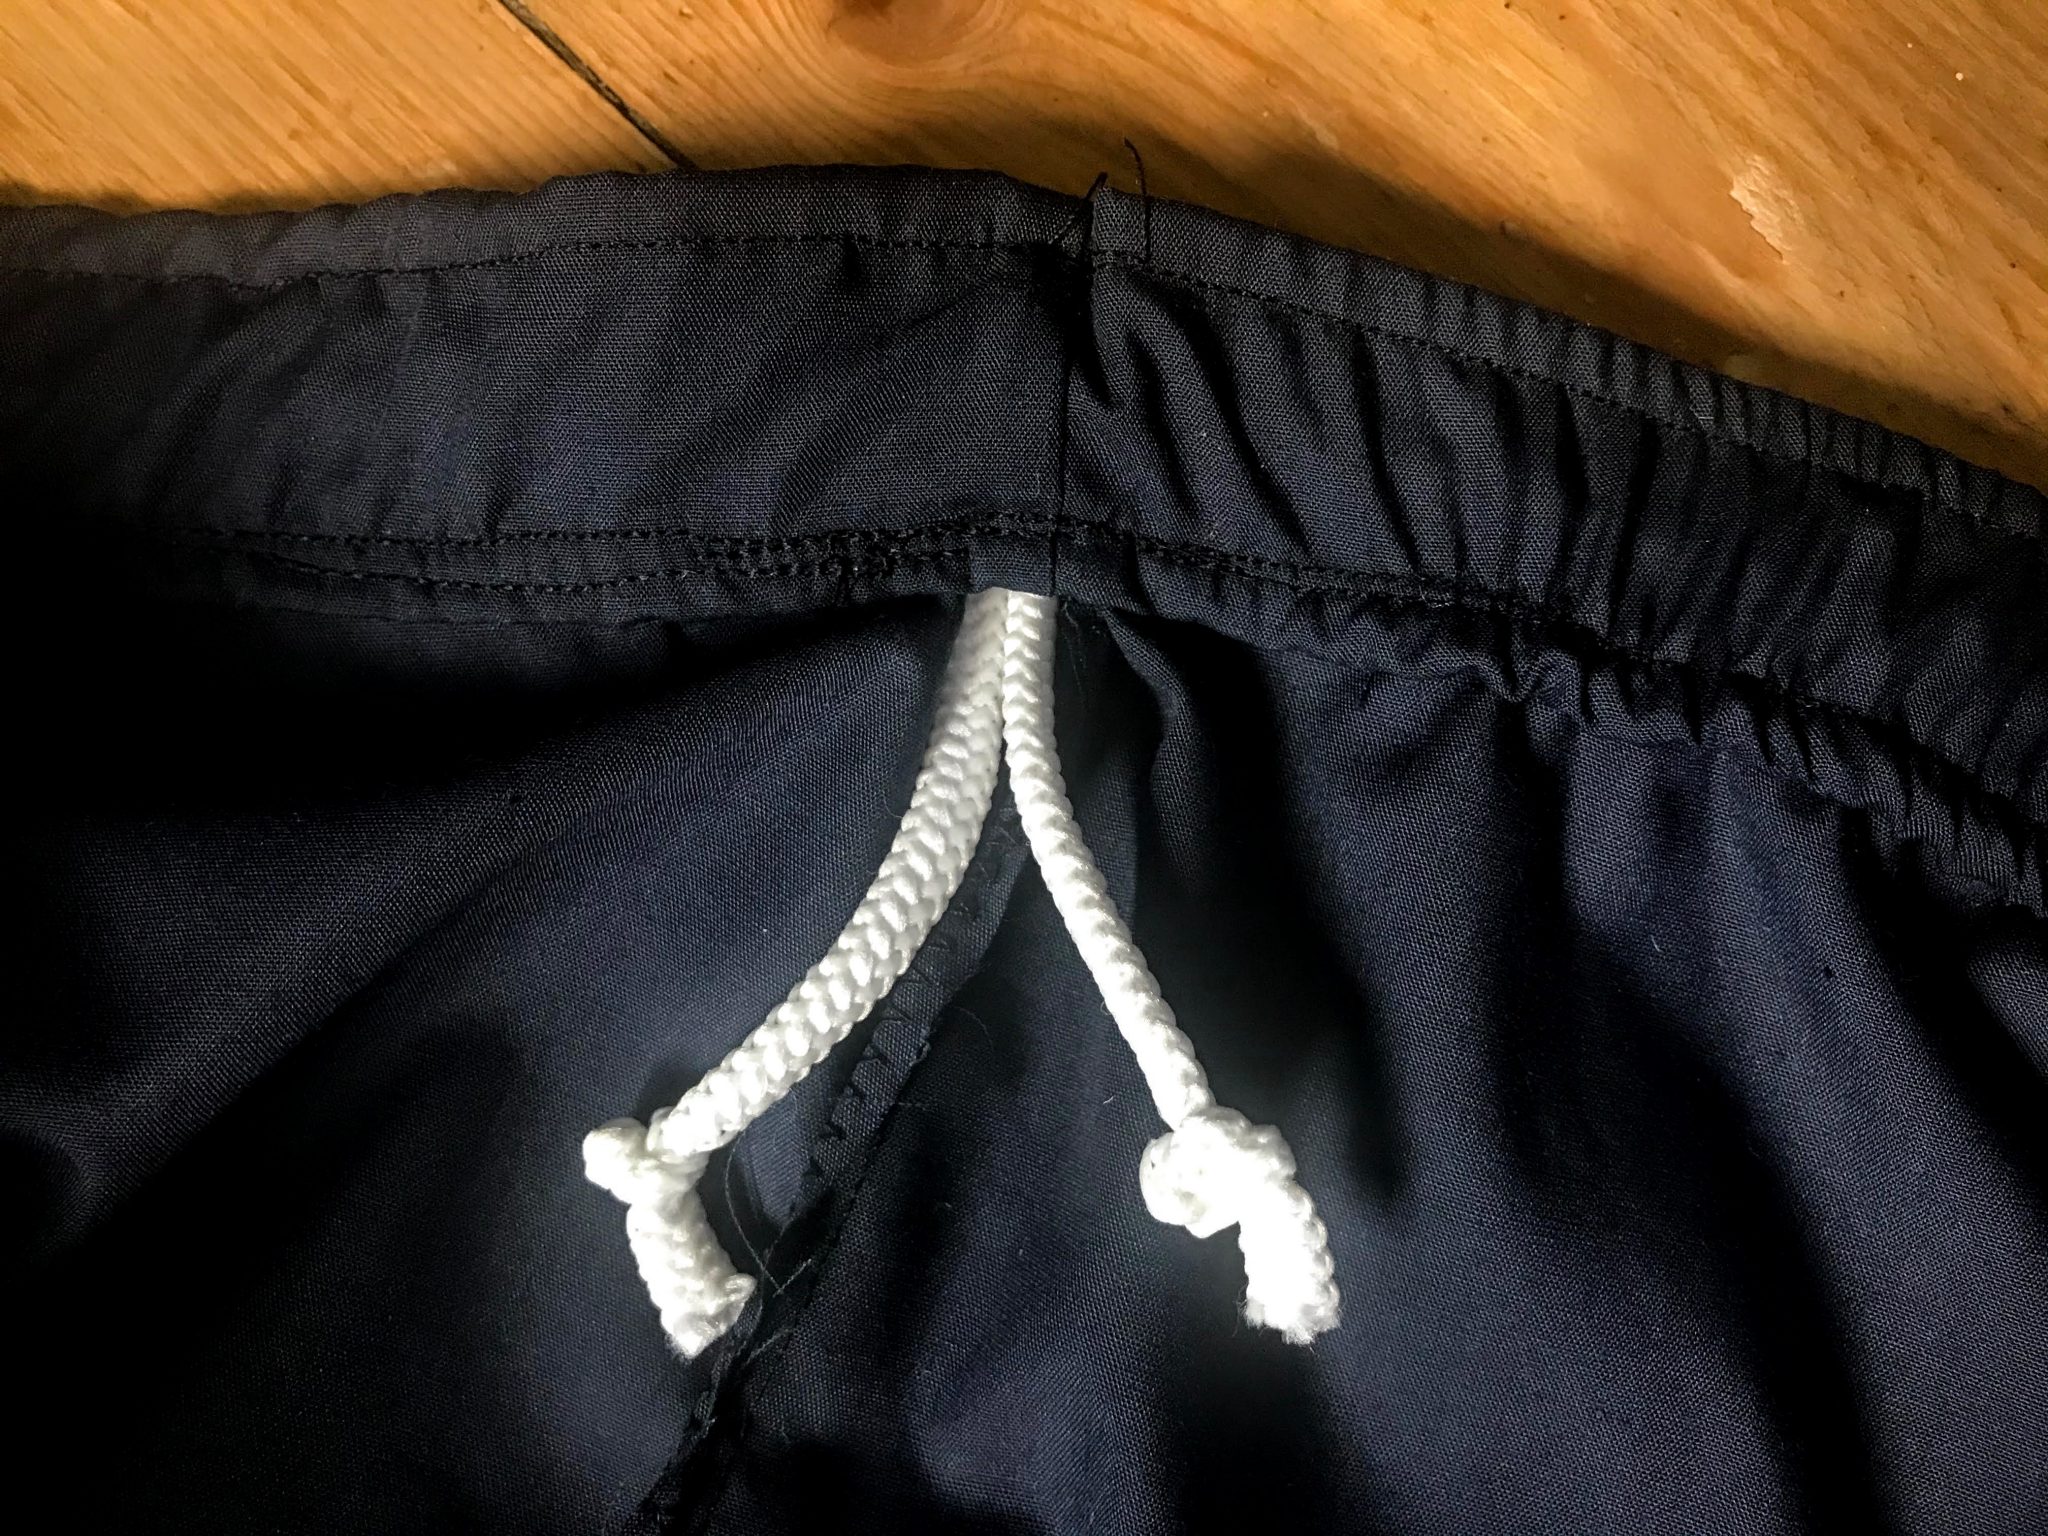
Knot the end of your drawstring.
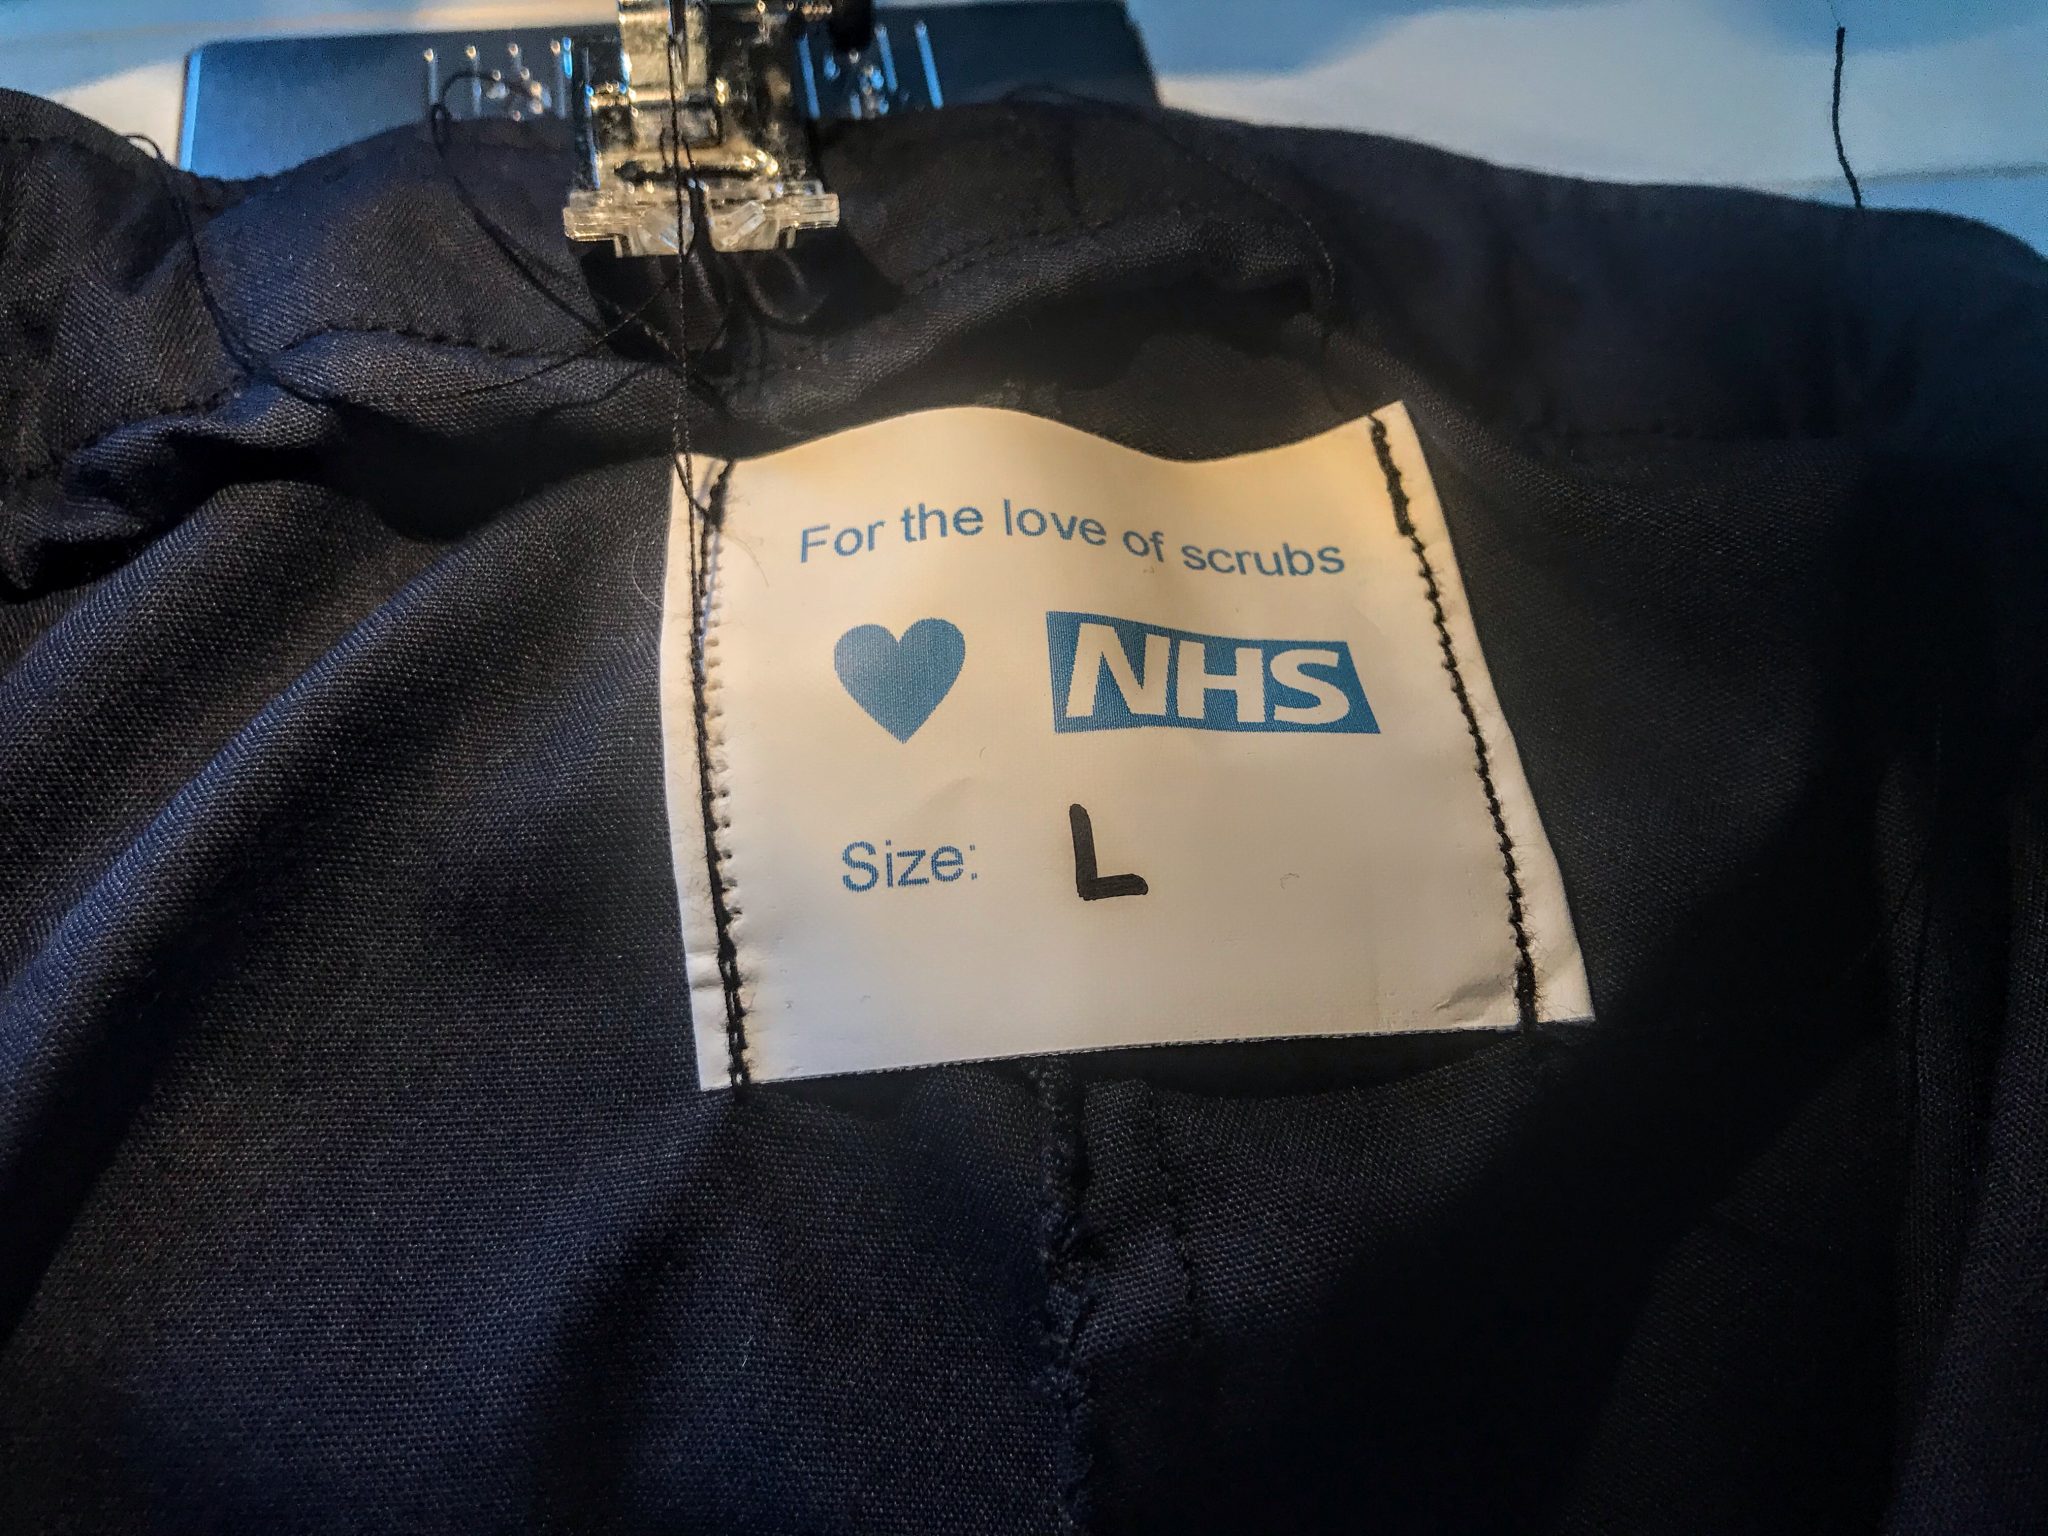
9. Add your label with the corresponding size. Ribbon is tricky to sew so overstitch it at the ends.
Now your trousers are complete! Snip your ends and press.
Read: 11 easy creative craft ideas to take your mind off coronavirus
Scrub top instructions:
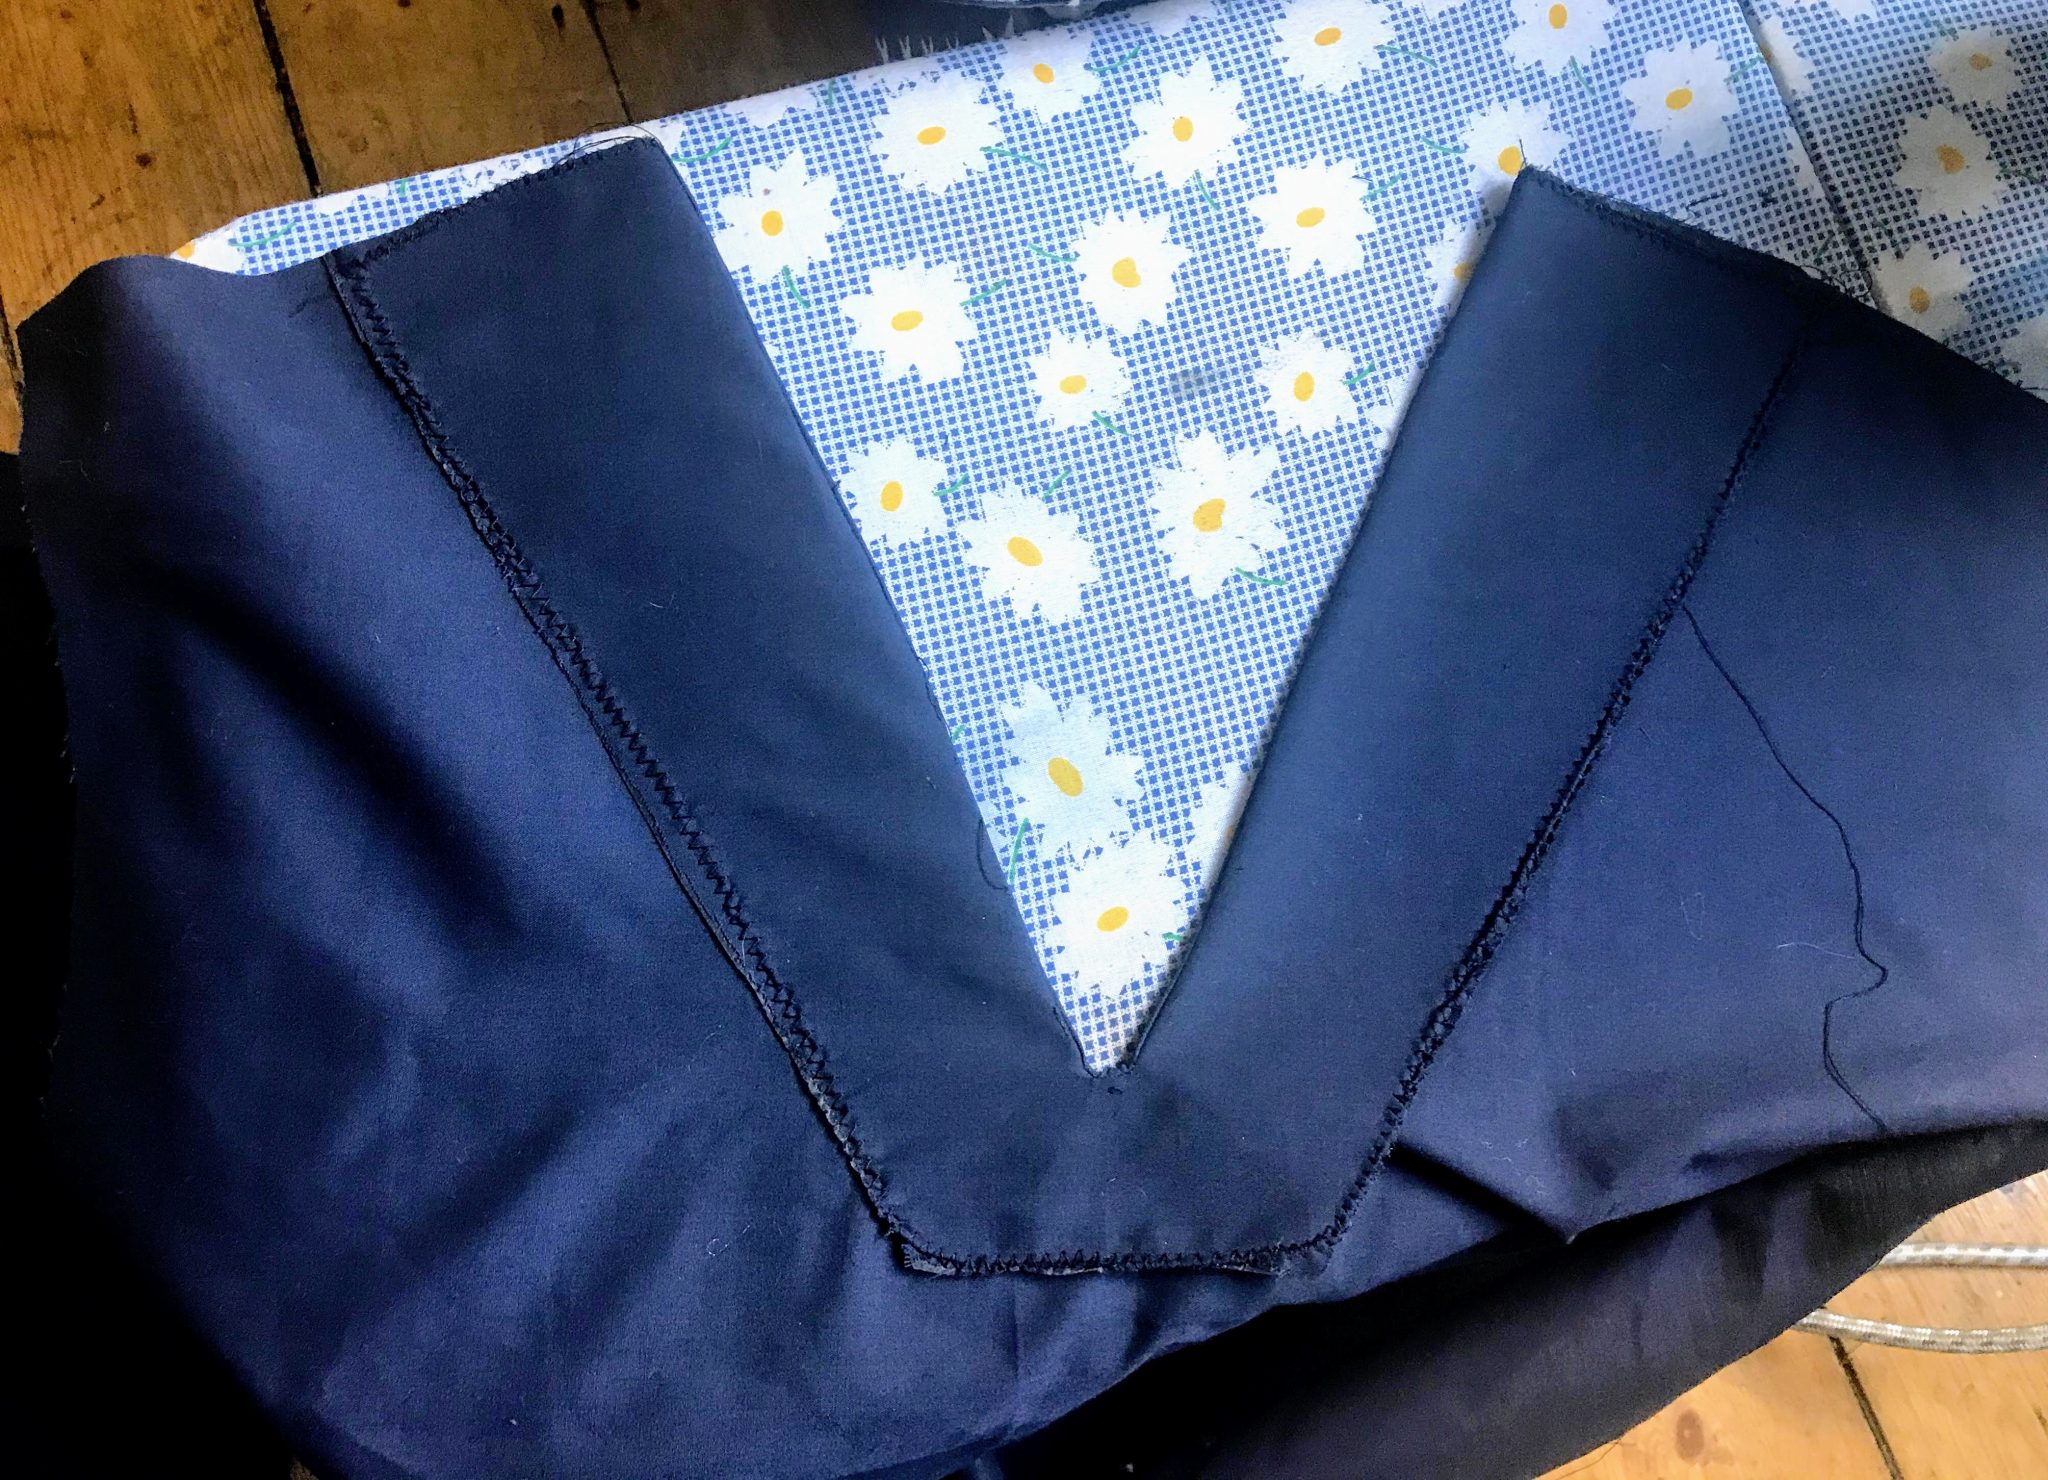
10. Sew the facing together if you’re using a back facing and joining it with your ‘V’ facing. Then sew your ‘V’ facing to the right side of your front as close to the edge as possible. If you don’t have interfacing then you can just double your fabric to make it weightier.
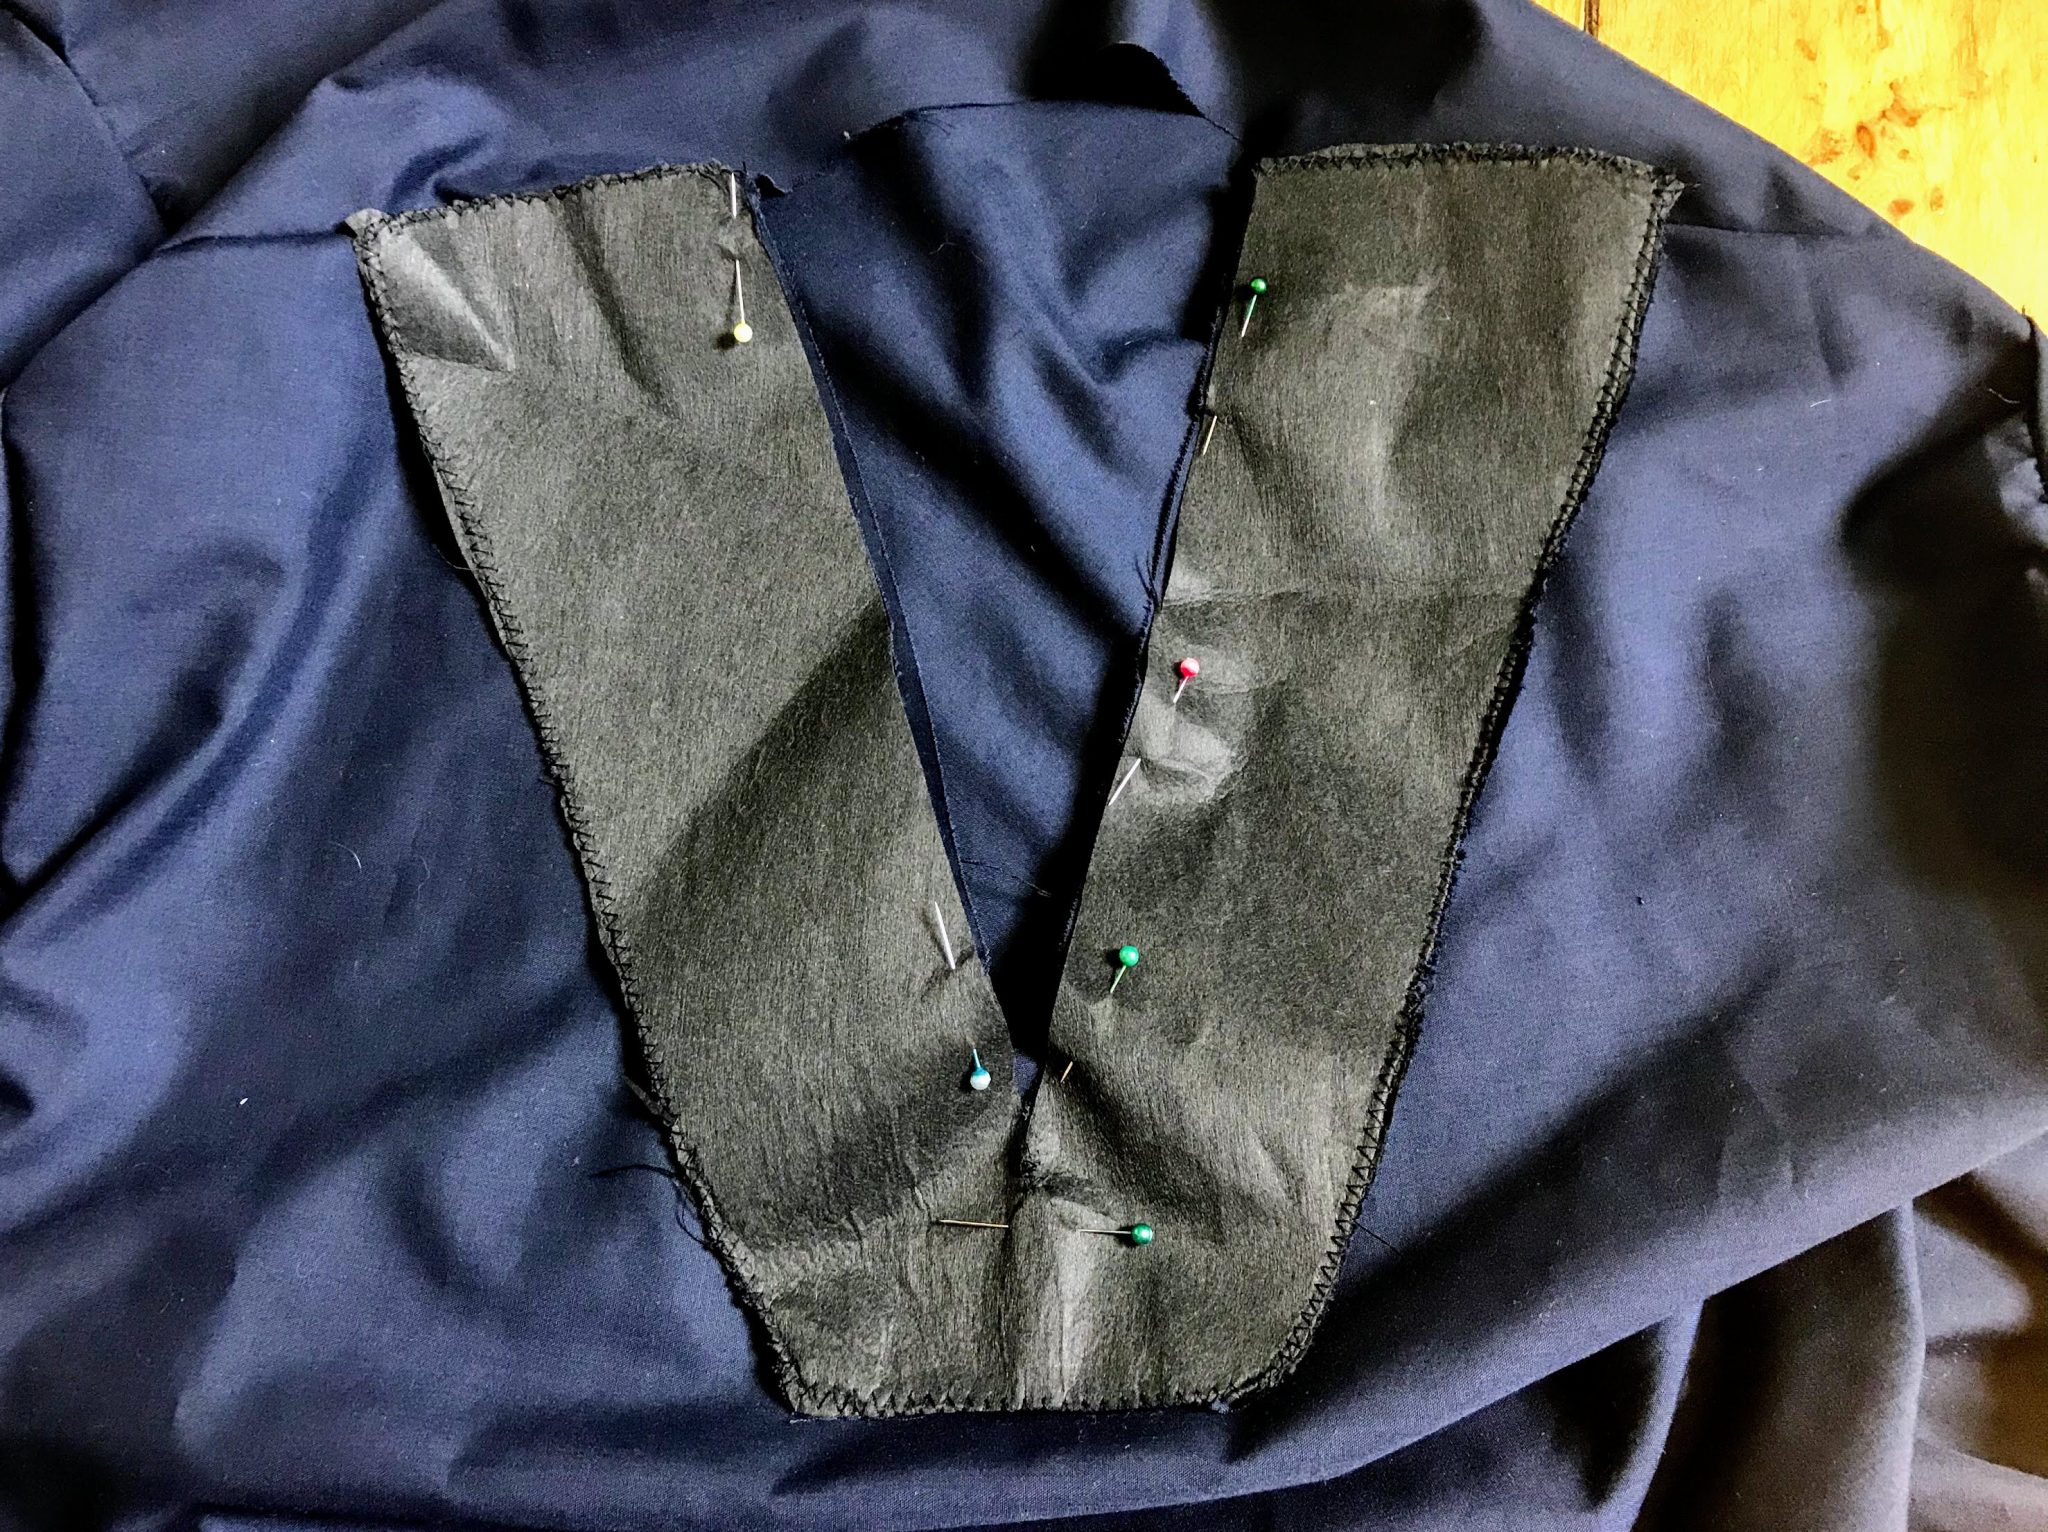
Fold it around to the back and press neatly. Snip any bulk to help it lay flat. Top stitch around your facing as close to the edge as possible. You can leave it like that or go around the edge of the facing which is what I do to secure it. It’s really tricky so make sure to pin and press it completely flat to avoid wrinkles!
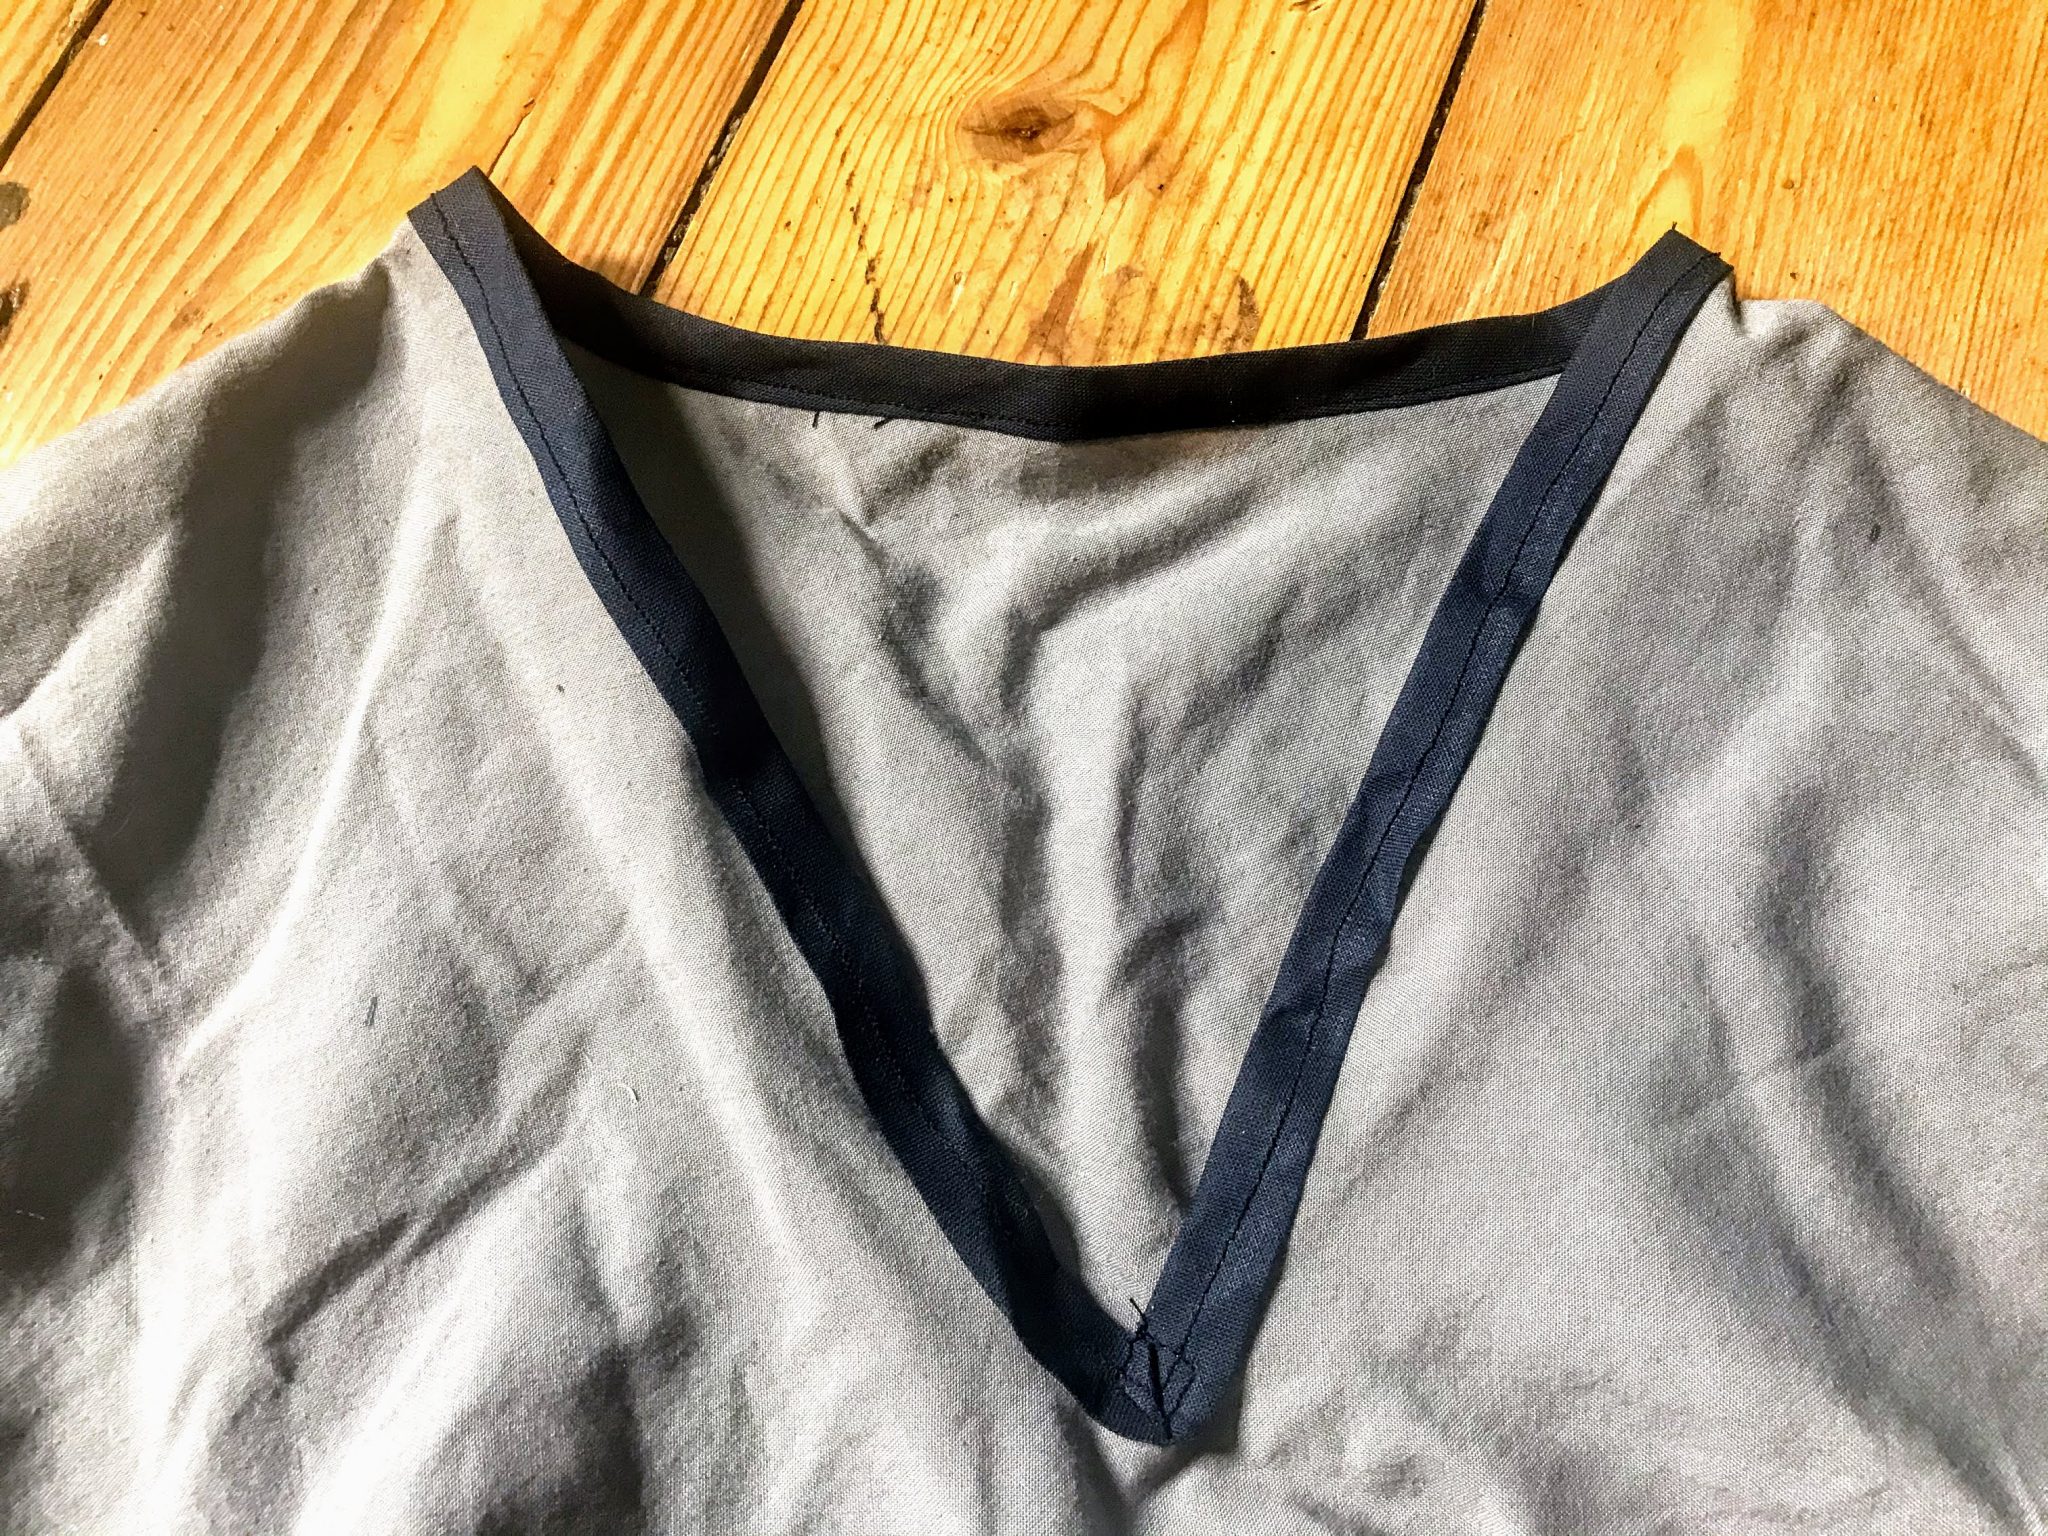
If you’re using binding then fold it around the back of the neck from the facing and stitch it down along your back piece to join the other side. To bind your entire neck, sew one side of the binding to the front and fold it around the back to stitch the entire thing down. Fold the binding at the front to create the ‘V’ shape.
11. Stitch your shoulder seams together and zigzag.
12. Put your sleeves into the armholes by matching it up when the fabric is flat. Pin it to make sure that it fits correctly. If you’ve drafted an arm into your pattern then skip this step.
Then zigzag or overlock over it.
13. Iron a hem into your sleeve while it’s flat and sew down.
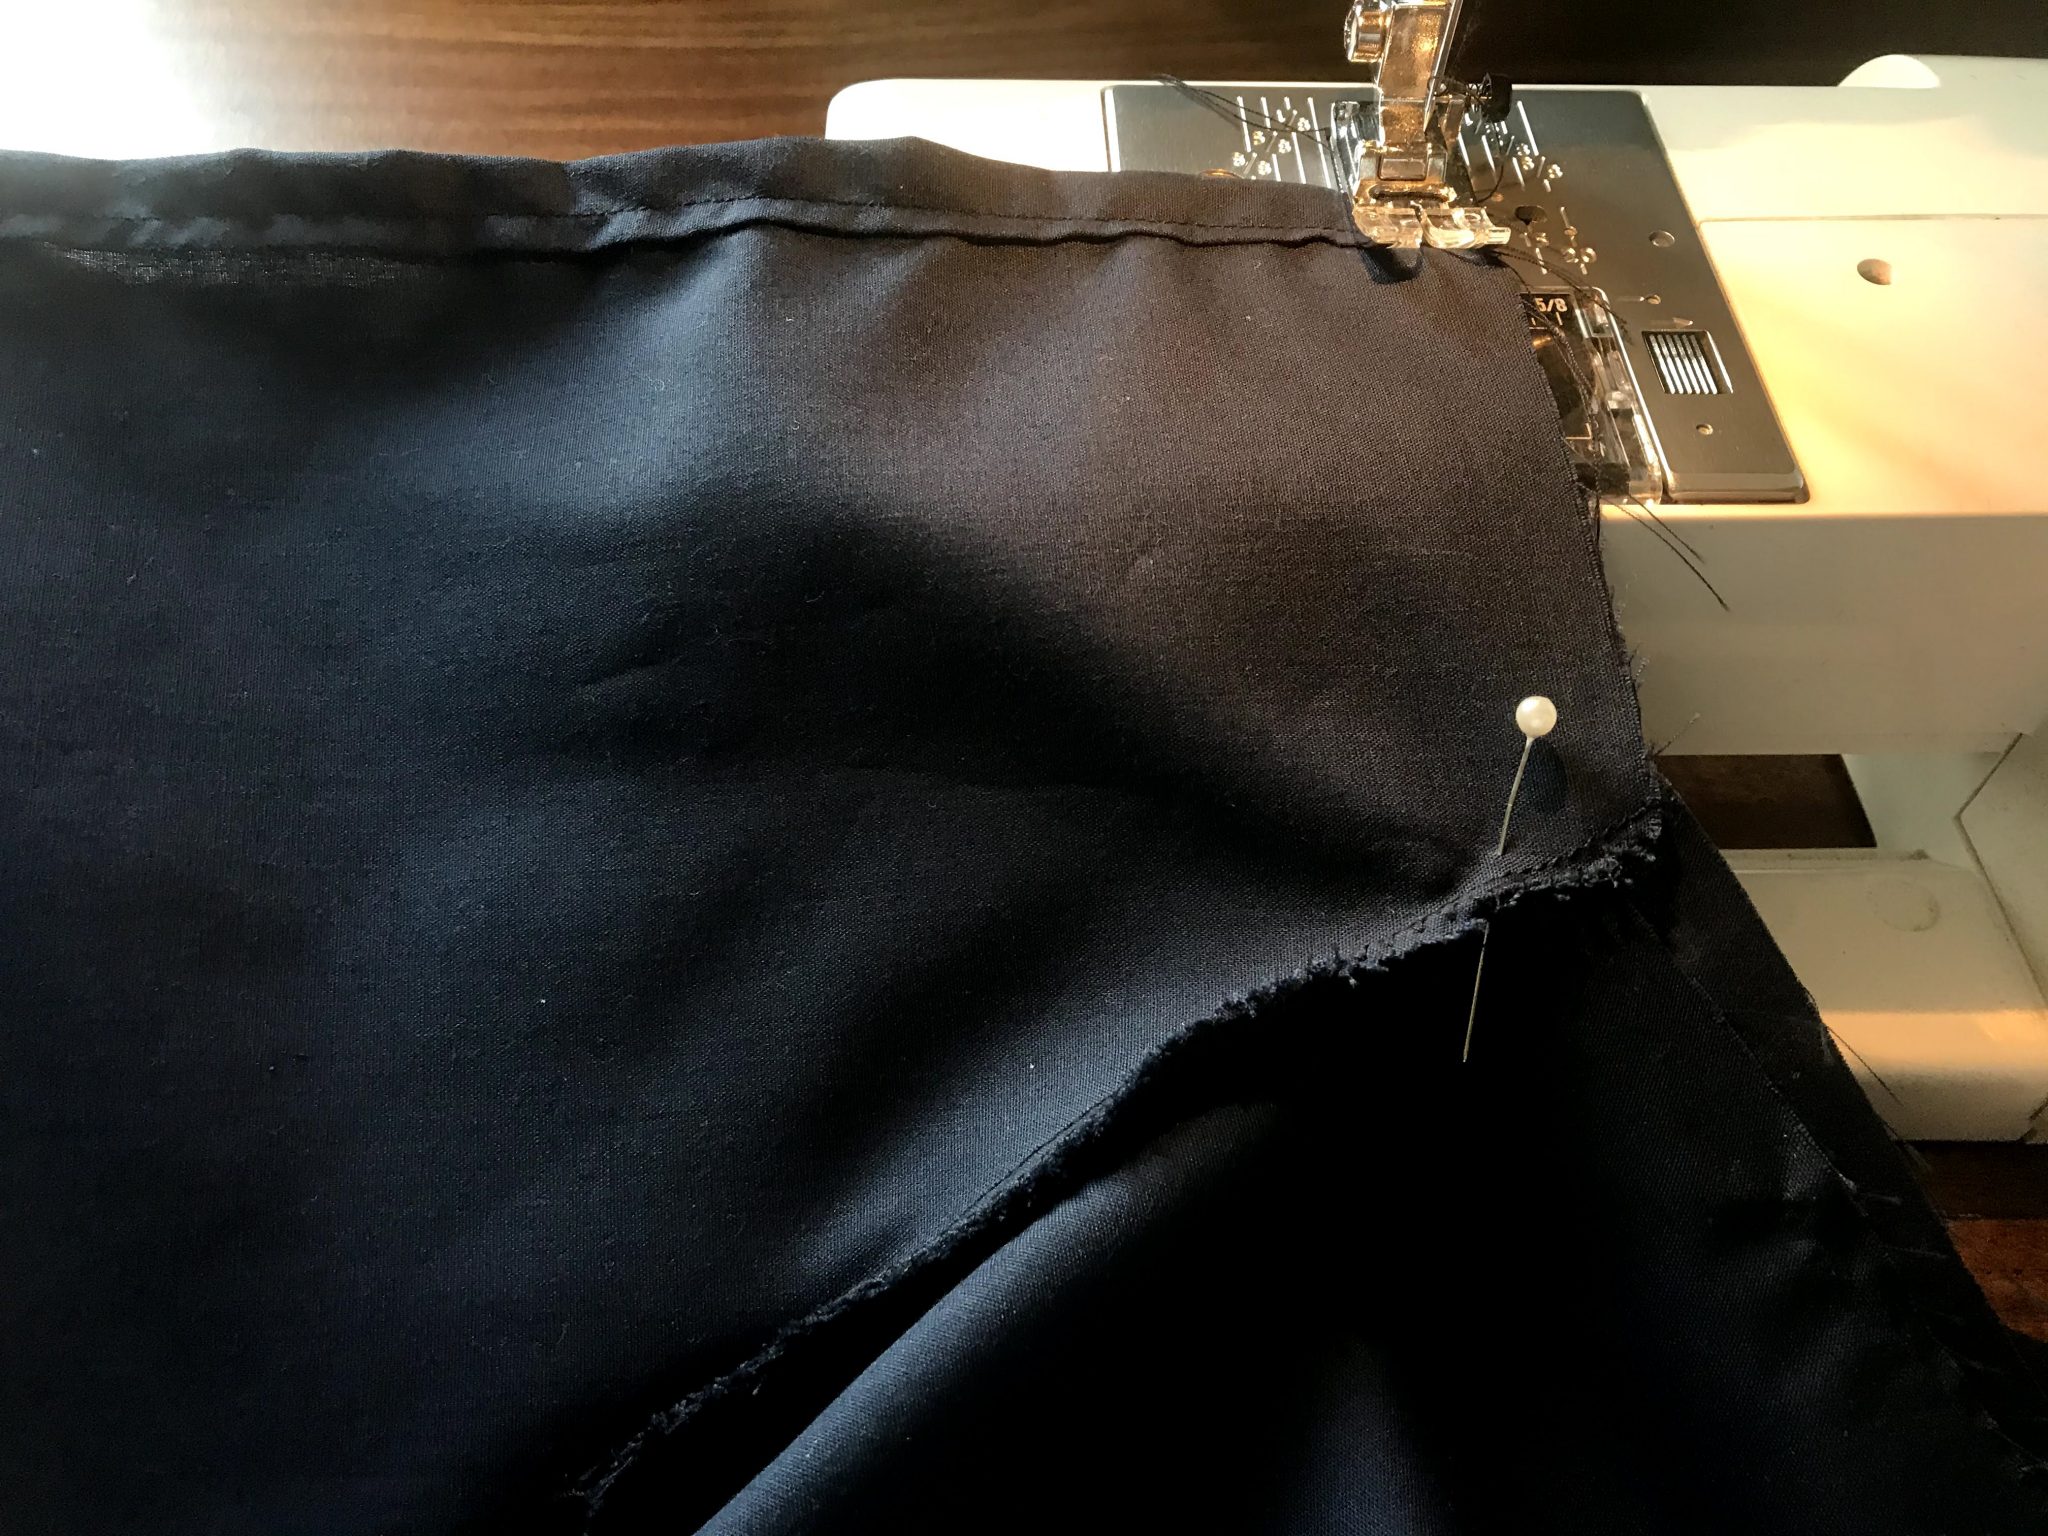
14. Sew your side seams together. Match sure to pin the overarm together so it matches up. Stop at the edge before the bottom notches. Zigzag over your seam to secure.
15. Create two small hems on the notches on the bottom of your top and sew down. Backstitch at the top and bottom to secure.
16. Press and sew the two hems at the bottom of the scrub top.
17. Add your label.
Et voila! Snip your ends and press.
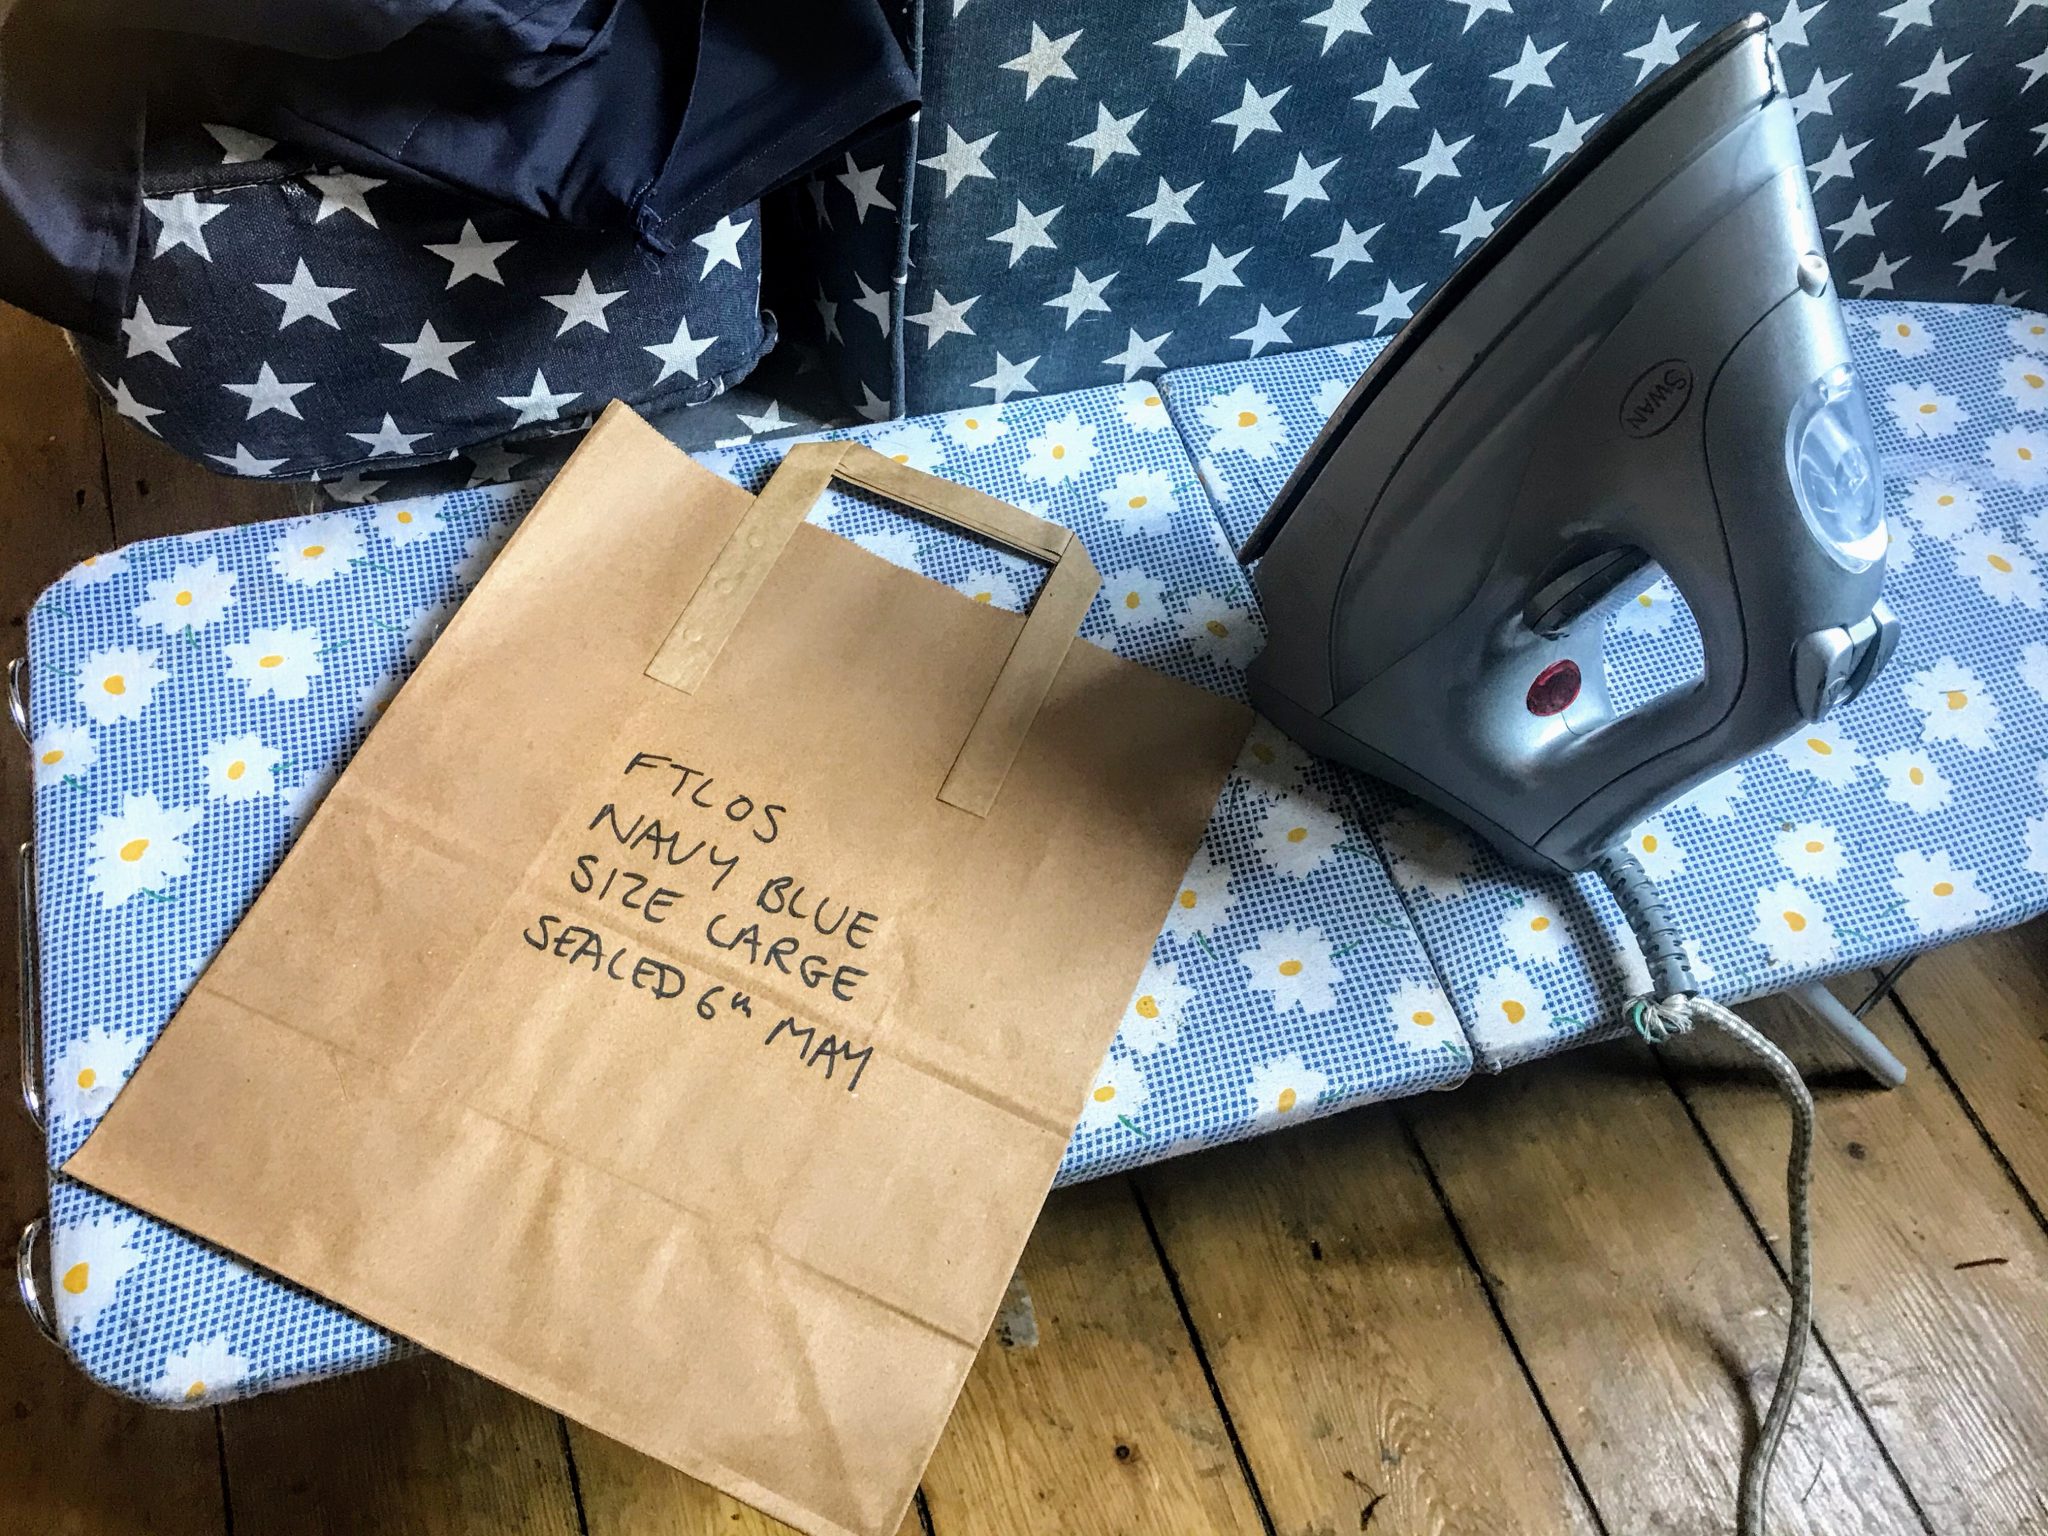
The last step is to put each pair of scrubs in a sealed bag. Label it with the size, colour and when it was sealed. I used brown paper bags and brown paper tape to avoid using plastic. If you have plastic bags already then reuse them if it’s safe to do so.
Now your scrubs are ready to be delivered to some fantastic healthcare workers near you.
Read: 5 ways that learning to sew can make your life more sustainable
Pin this for later:


Leave a Reply